Gain staging is a complex term for a very simple process.
In a nutshell, gain staging is about setting your levels right. That’s it.
Whether it be between plugins or at the fader level, gain staging is crucial. It’s the first step in getting a pro-sounding mix. So in this guide, we’ll cover everything you need to know about gain staging! Specifically, we’ll look at:
- What gain staging is
- Why it matters
- The difference between gain and volume
- 4 practical steps you can take for proper gainstaging
Let’s dive in! 👇
Simplify your mixing with our Free EQ Cheat Sheet 🎛️
Get our one-page guide containing everything you need to know about frequency ranges, curve types, and more (without the useless information) 👇
Table of contents
So What is Gain Staging? 🤔
Gain staging can take on different meanings. But here is the most common definition.
“Gain Staging is the process of managing the relative levels in each step of an audio signal flow to prevent introduction of noise and distortion” (Wikipedia)
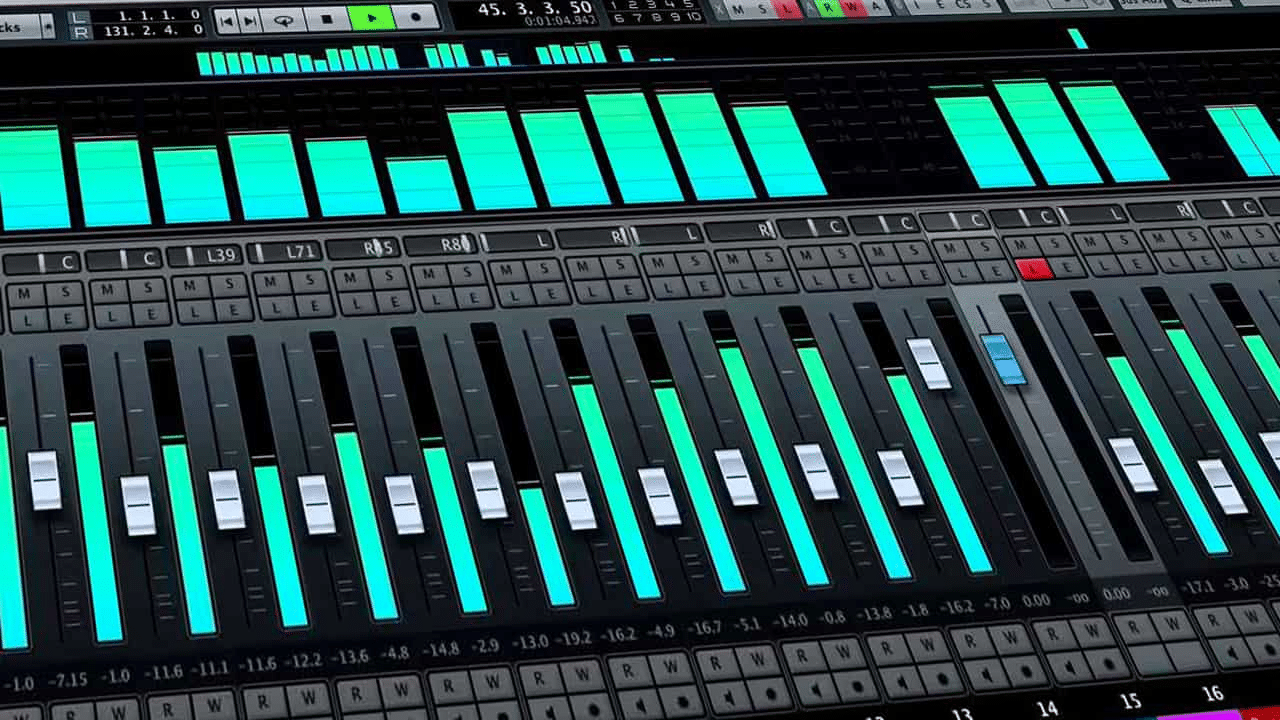
Let’s imagine you have an effects chain that looks like this:
Original audio –> Compression –> EQ –> Saturation –> EQ –> Limiter
Gain staging aims at managing the input and output levels at each stage. The end goal is to ensure that you are never introducing unwanted distortion.
Over the years, gain staging in the digital world has also taken on a second meaning. People will sometimes talk about gain staging when referring to the balance of each mixer track:
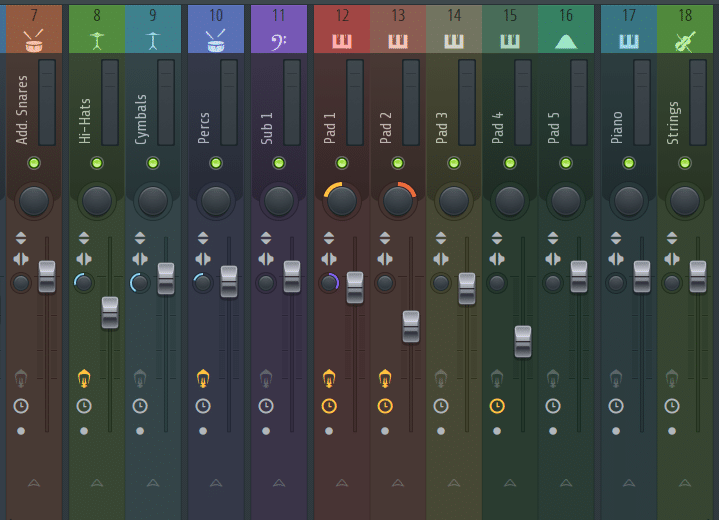
This should be the first step in every mixdown you do.
Before reaching for EQs and compressors, setting the volume of each fader is essential. But more on that later.
So when people talk about gain staging, they are either talking about 2 things:
- Managing the levels within an audio’s signal flow
- Managing the relative output levels of each track within a mix
Why is Gain Staging Important? 🤔
Before we dive further, let’s quickly recap some essential definitions. These are crucial to understanding why gain staging is so important.
Headroom
Firstly, let’s talk about headroom. This is the safety zone allowing transient audio peaks to exceed the nominal level without clipping:

If you’ve ever sent a pre-master to a mastering engineer, you know what this is. Mastering engineers will often ask for 4dB to 6dB of headroom. This means that your mix bus should never peak beyond -4dB to -6dB.
This allows the mastering engineer to do his job properly. Without enough headroom, there is no room to boost and enhance the mix without clipping.
Clipping is a form of waveform distortion that occurs when an amplifier is overdriven. Basically, when you go over 0dB:

In the analog days, this would immediately introduce nasty distortion.
However, in the digital realm, things a more tricky.
Clipping in the Digital World
Indeed, most DAWs can handle insane levels without distortion. It’s only when you export your audio that you start running into issues.
Here’s a quick example to demonstrate. I have this short melodic loop playing:
Currently, I have about 3dB of headroom:

Now, let me add some Gain plugins. I am going to boost the levels to crazy town and back:
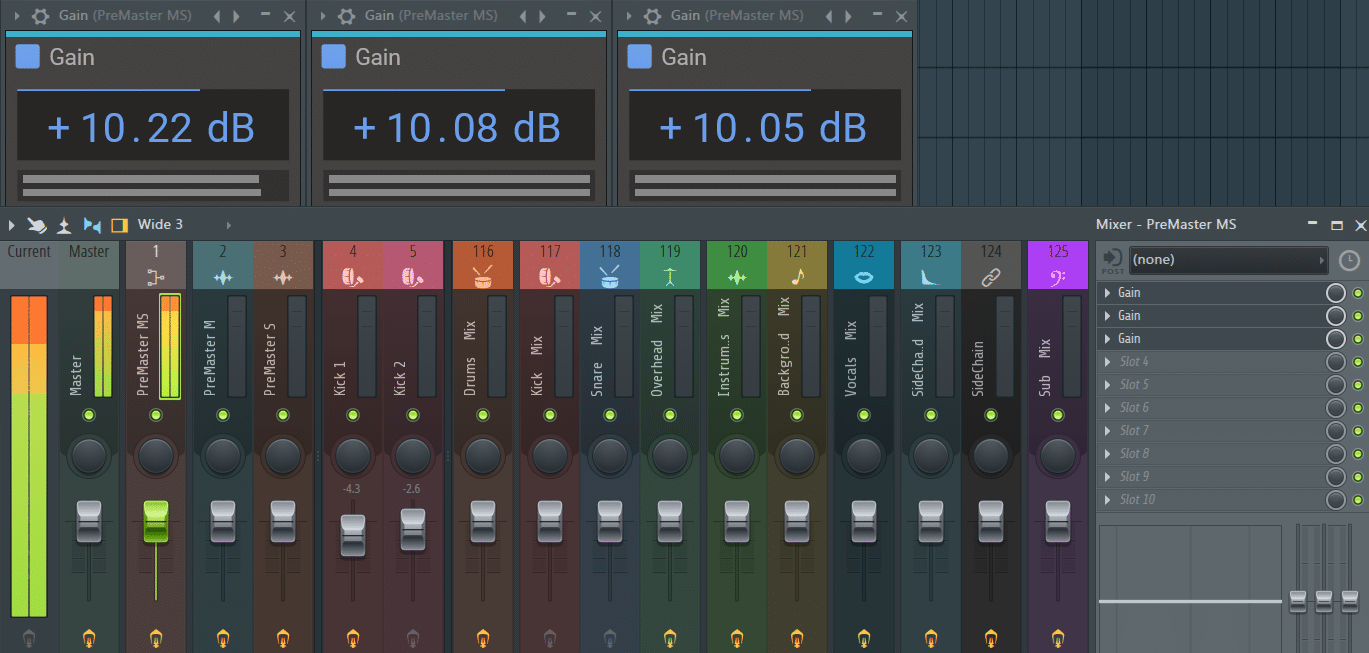
I’ve added about 30dB of gain here. As you can see the audio is absolutely slammed to insanity.
But here’s the crazy part (and you’ll have to trust me on this): it sounds absolutely fine 😅
At least in the DAW. Beyond a certain level, adding more gain simply doesn’t change the loudness anymore. But what happens when I export the audio…?
Yeah… I think we can agree there’s a bit of distortion there!
Expectations vs. Reality
So what happened? Well, modern DAWs can actually handle insane audio levels without distorting. This is because we are working digitally. There are no actual circuits and amps being overdriven.
However, this is not true when exporting your project to audio. As the above example demonstrates.
Without getting too technical, this is due to floating vs. fixed bit rates. Think of it this way:
- Your DAW processes audio in a floating bit rate environment (usually 32-bit floating point)
- When you export, your audio will be transferred to a fixed-point bit rate
Practically, this means everything above 0db gets chopped off:

Which results in the audio being absolutely slammed and distorted.
This is why gain staging is absolutely crucial. If you’re not careful, you might be distorting your sound without knowing it!
So, to summarize:
- Anything going above 0dB will get distorted when exported
- This includes individual tracks as well as the master
In a nutshell, this is why gain staging is so crucial.
Inject analog grit & haze into your music ⚡️
Our Analog Sample Pack is packed with 700+ weird and wonderful samples from synths like the: Roland Juno-6, Roland Jupiter 8, Teenage Engineering Pocket Operators, Korg Microkorg + more!
Gain vs. Volume: Same Thing? 🧐
Now you might be wondering if there is a difference between gain and volume.
After all, this article is called “Gain Staging”, not “Volume Staging” 😅
So what’s the difference? Here’s a simple way to think about it.
Volume is the loudness of a sound:
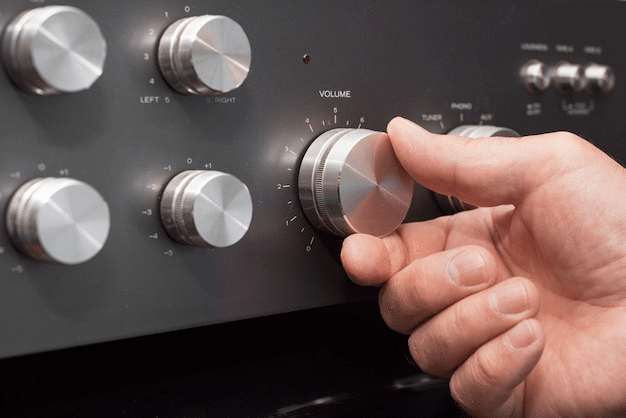
That’s it. Volume controls the decibel (dB) output of a signal. This could be an audio sample in your DAW or the loudness of your headphones.
On the other hand, gain is the input level of a signal.
Gain might sometimes increase the perceived loudness of a signal. This is why it is often confused with “volume”. More often than not, however, it will affect the tone of your signal.
Remember how I said there are 2 types of gain staging? If we want to be really precise, we should actually say:
- Gain staging is managing the relative levels in each step of an audio signal flow
- Volume staging is adjusting each mixer fader to ensure enough headroom on your mix bus
Wanna learn more about gain staging? Check out this video from Aden:
4 Steps to Pro-Sounding Gain Staging
Now that we know why gain staging is so important, let’s look at some practical tips.
1. Use the Makeup Gain!
Most plugins will have a makeup gain knob:
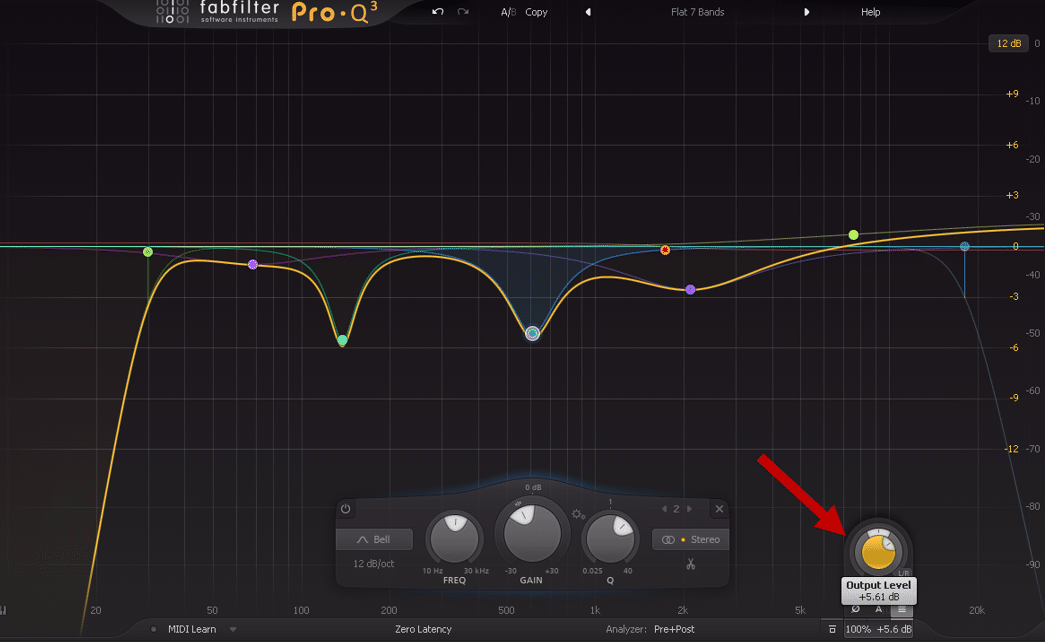
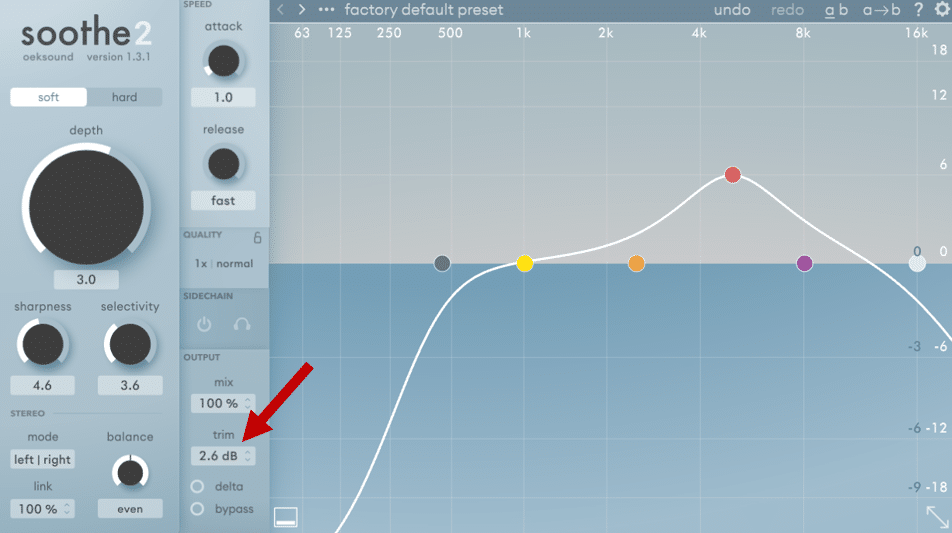
Adjusting the output level is crucial for several reasons.
Firstly, the plugin might be adding gain to your sound. This tricks you into thinking it sounds better.
Decreasing the makeup gain allows you to compare apples with apples.
Secondly, you might have other plugins following in your chain. These plugins (compressors for example) react very differently based on the signal’s input gain. This is why you want to make sure the gain is flowing at a consistent level.
If you decide to filter some more frequencies with an EQ, increase the output level accordingly. This ensures the compressor you have following reacts appropriately 🙏
The same is true if you have a saturation/distortion plugin in your chain.
Keep the input gain flowing into the saturation unit constant. This will ensure a consistent sound.
2. Careful Where you Put Your Automations
Here at EDMProd, we’re all about using automation.
After all, automation is what gives movement and variation to our tracks:

However, you need to be mindful of where you place your automation.
If you’re not careful, you can completely mess up your gain staging.
Here are 2 practical tips for you.
Number one: do not automate the faders on your mixer.
The reason for this is simple. Once you get to the mix-down stage, you want to be able to adjust the level of each track individually.
This becomes impossible if your faders are jumping up and down:
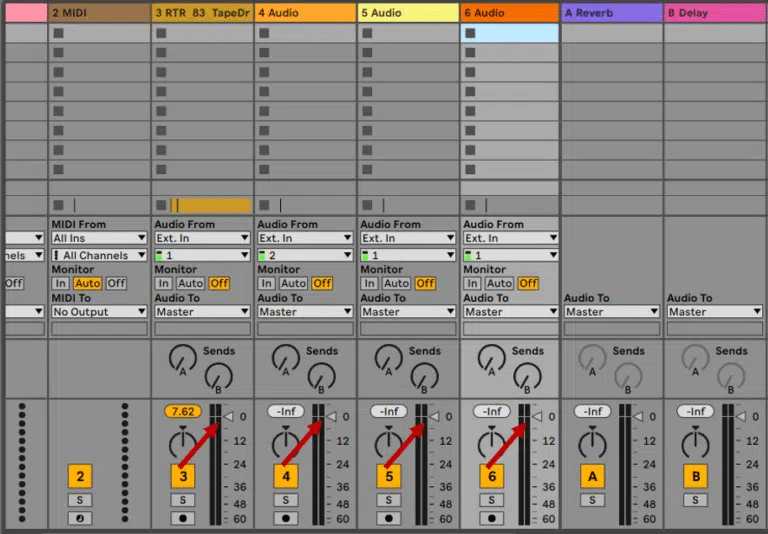
Tip number 2: automate the gain at the end of your chain.
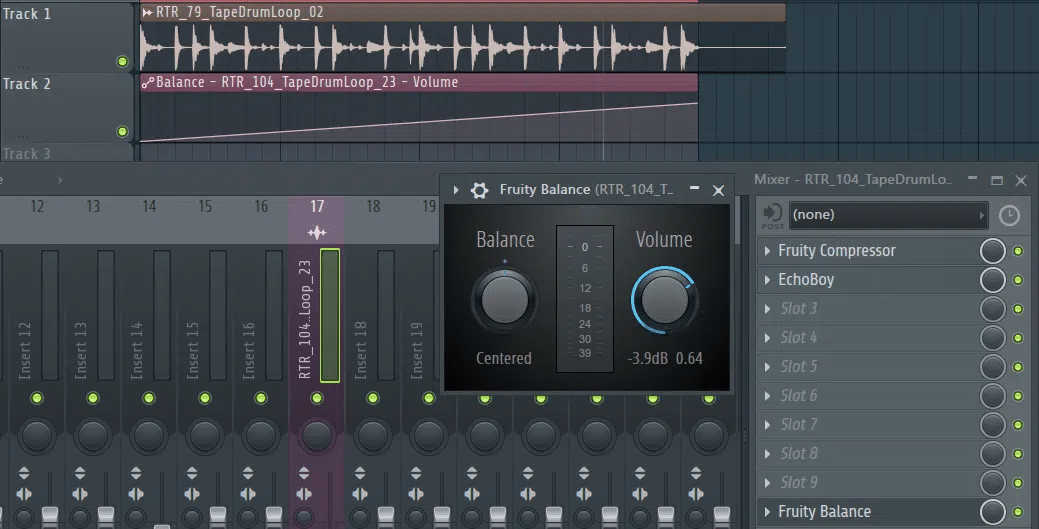
This is because gain affects the tone of your sound. Automating at the start of your chain will affect the amount of compression or saturation, etc.
This is why you want to automate at the end of your chain for a consistent sound.
3. Start Your Mixdown with Gain Staging
Let’s face it: mixdowns aren’t that fun. At least that’s my opinion 😅 I’d much prefer to spend my time writing, arranging, or sound designing.
However, mixdowns are absolutely essential to getting pro-sounding tracks. That’s why we’ve dedicated an entire course to mixing 😉
The truth is, 50% of a good mixdown comes from gain staging. And the best part is, you don’t need any fancy plugins to do it!
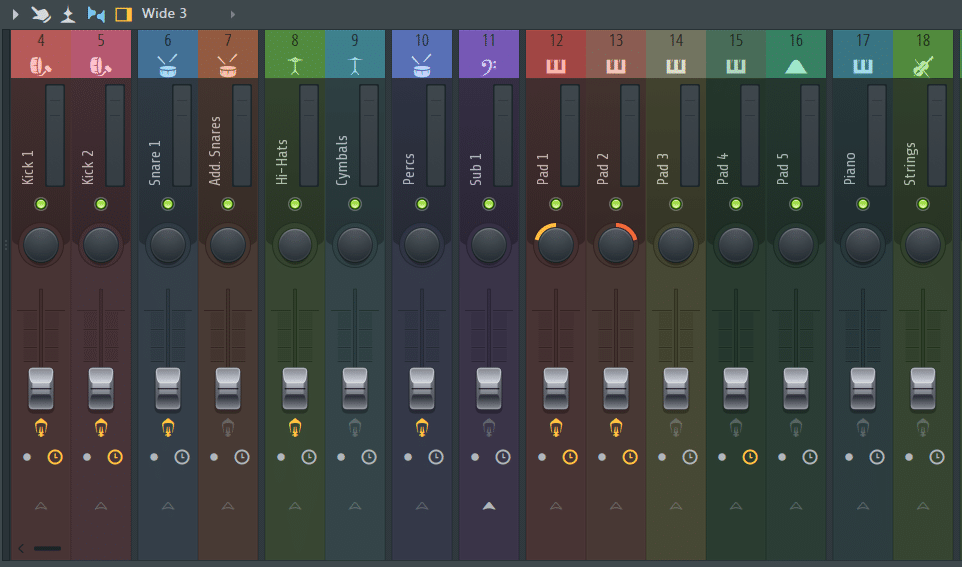
Here’s a technique I learned a while back. Start all your faders at the lowest position:
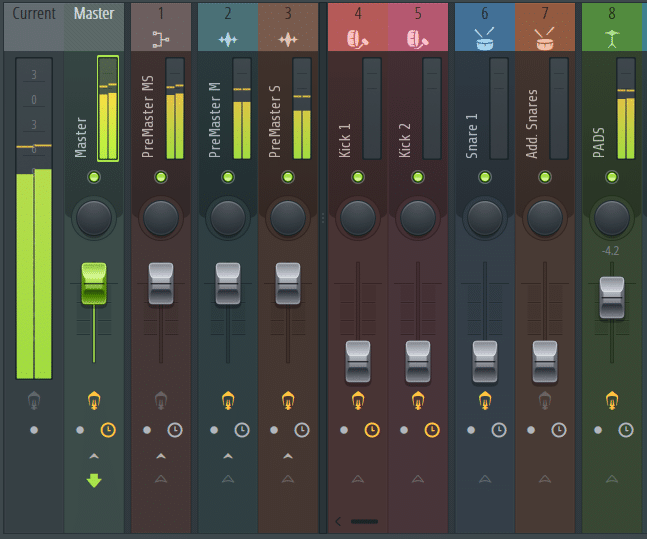
Next, increase 1 element at a time. Aim for the master to peak around -6dB to -9dB at all times.
Start with the kick. Then bring up the snare. Then bring up your hats. Etc, etc.
Do this for all your elements. This will give you a solid base for the rest of your mixdown.
4. Check Your Plugin Level Gain Staging!
Unfortunately, gain staging doesn’t end with the faders. You also need to make sure that nothing is clipping between plugins!
In this example, everything seems to be fine at first:
Nothing is peaking above zero, nothing is clipping. However, let’s look at the effects chain on those pads:
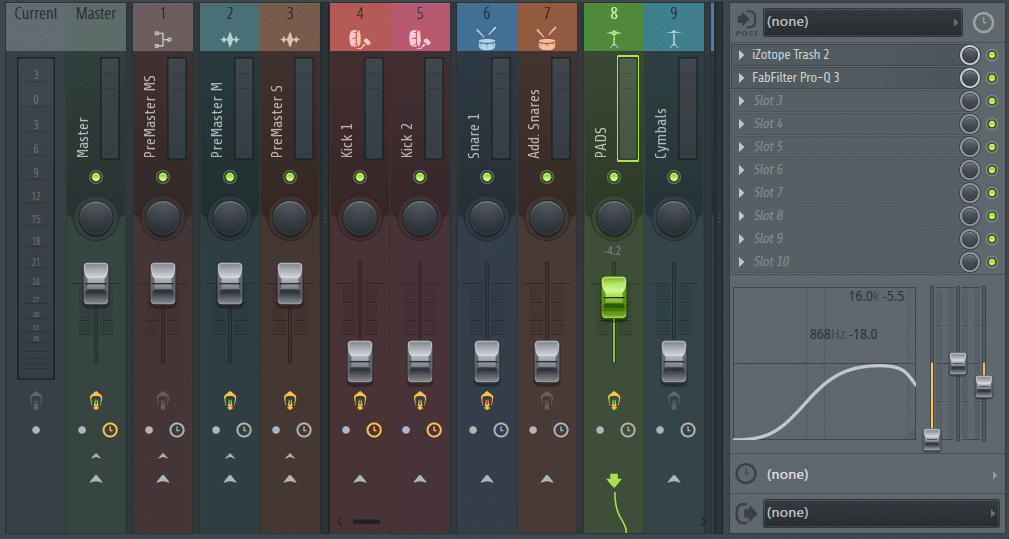
However, as I open the EQ, I can see that I’m clipping like crazy:
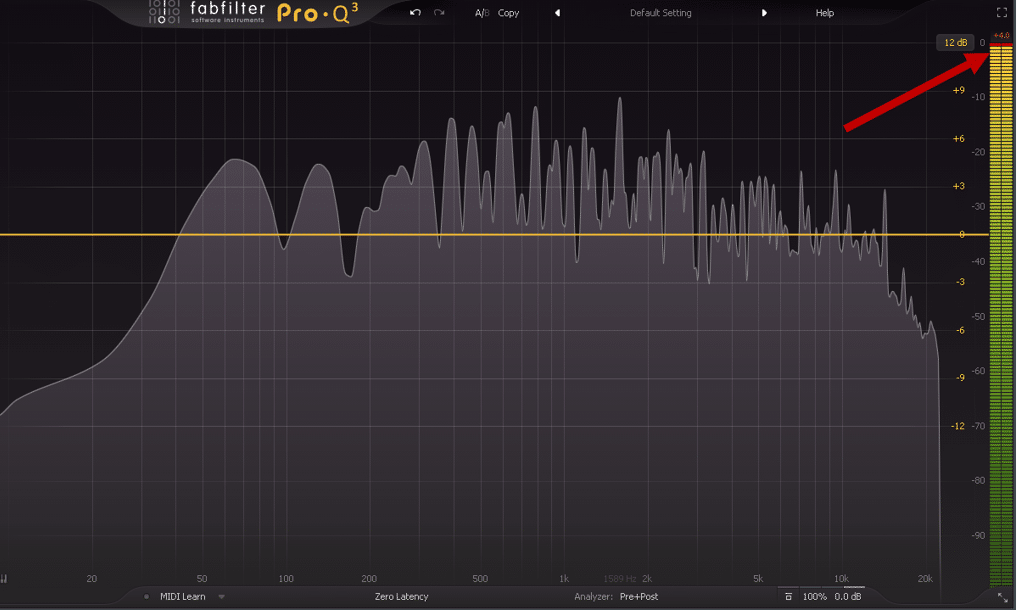
This means I’m introducing some unwanted distortion in my chain! What I need to do here is go to the previous plugin (the saturation), and adjust the output gain.
Inject analog grit & haze into your music ⚡️
Our Analog Sample Pack is packed with 700+ weird and wonderful samples from synths like the: Roland Juno-6, Roland Jupiter 8, Teenage Engineering Pocket Operators, Korg Microkorg + more!
That’s It For This Guide! 🙏
That’s a wrap for this guide! Hopefully, you now have a better understanding of what gain staging is!
Was any of this unclear? Anything I missed out? If so, just drop me a line at [email protected]

