Want to learn how to make Synthwave? I get it – Synthwave was actually one of the first genres that attracted me to music production.
Maybe you’ve tried producing Synthwave in the past? But got stuck somewhere?
Then this guide is for you! Synthwave can be hard to nail down properly. It’s a very coded genre, where every sound needs to be picked very carefully. But fear not, we are going to cover everything together. In particular, we are going to look at:
- Picking the right sub-genre of Synthwave to start
- Getting those 80s drums just right
- Writing a nostalgic chord progression
- Filling up the frequency spectrum with arpeggios
- Nailing down the arrangement
Ready? Let’s dive into the world of Synthwave 👇
Get the headstart you need in music production with our EDM Starter Kit 🎛️
Get our collection of high-quality presets, samples and PDF guides – suitable for all genres of electronic music 👇
Table of contents
- How to Make Synthwave: Step 1 – Choosing the Style
- How to Make Synthwave: Step 2 – Getting the Drums Right
- How to Make Synthwave: Step 3 – Picking a Chord Progression
- How to Make Synthwave: Step 4 – A Smooth Bassline
- How to Make Synthwave: Step 5 – Adding Leads and Arps
- How to Make Synthwave: Step 6 – Adding That Organic Touch
- How to Make Synthwave: Step 6 – Vocals or No Vocals?
- How to Make Synthwave: Step 7 – The Arrangement
- That’s It For This Guide on How to Make Synthwave!
How to Make Synthwave: Step 1 – Choosing the Style
If you’re here, chances are you already know what Synthwave is.

Synthwave draws its primary influence from the 1980s era of movies and video games.
While the genre originated in the mid-2000s, it exploded in popularity after the release of the movie “Drive”. The movie’s soundtrack heavily featured popular tracks from the genre, such as Kavinsky’s Nightcall
The most common elements of Synthwave include:
- 80s drums with massive reverb
- filter-sweeping analog synths
- distinct, pulsating bass lines.
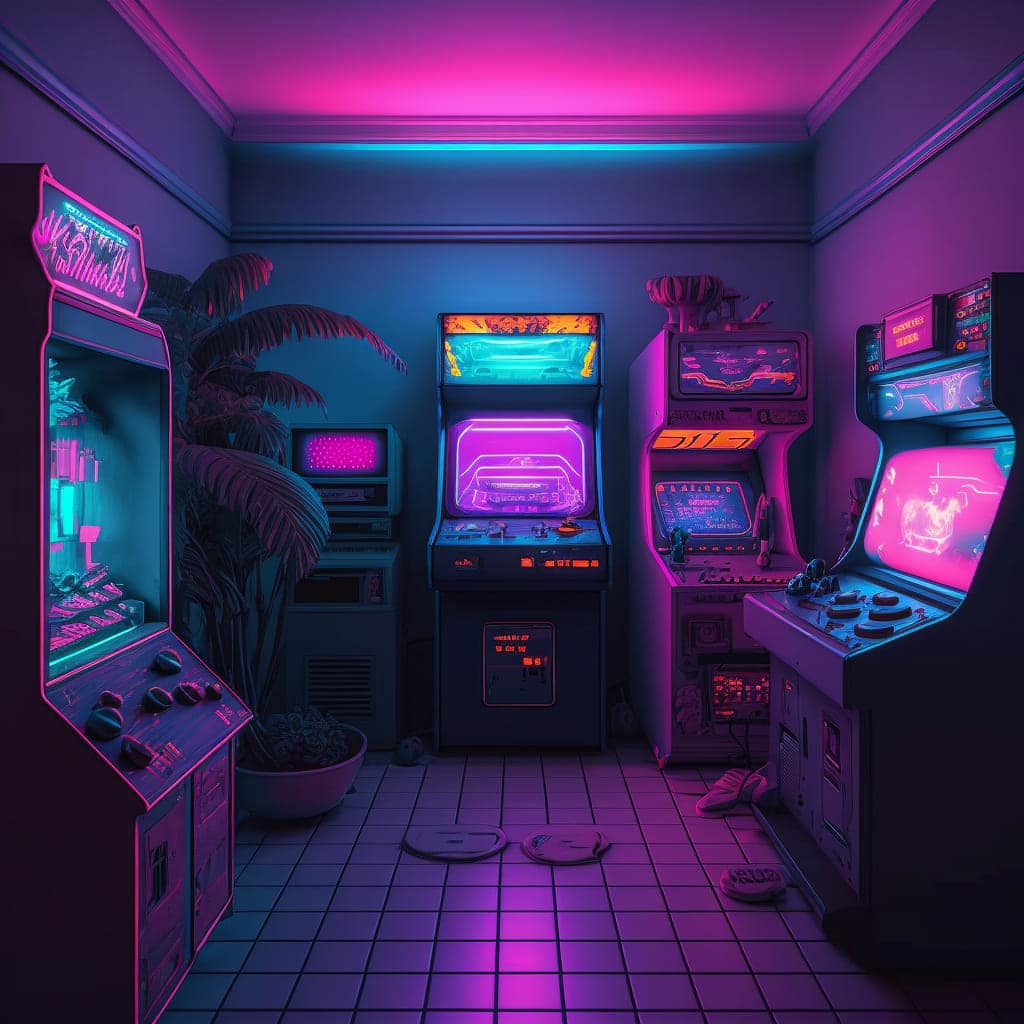
The common theme across all these elements is the evocation of the early 80s. Basically, you should see an old amusement arcade with magenta neon lights when listening to Synthwave:

As with all genres, Synthwave can be broken down into a multitude of different sub-genres, including:
- Synthwave
- Vaporwave
- Outrun
- Retrowave
- Chillwave
- Sciwave
- Dreamwave
- Darksynth
Some of these terms are interchangeable, while others (such as Outrun) are umbrella terms.
I personally like to categorize synthwave into 2 broad categories: Upbeat and Dark.
Here are examples of each:
I know there are a million other varieties, but this is a simple way to think of Synthwave. If you are just starting out with Synthwave, I recommend using a reference track. This is a professional track that you like, and that you will take inspiration from.
Choosing your reference track
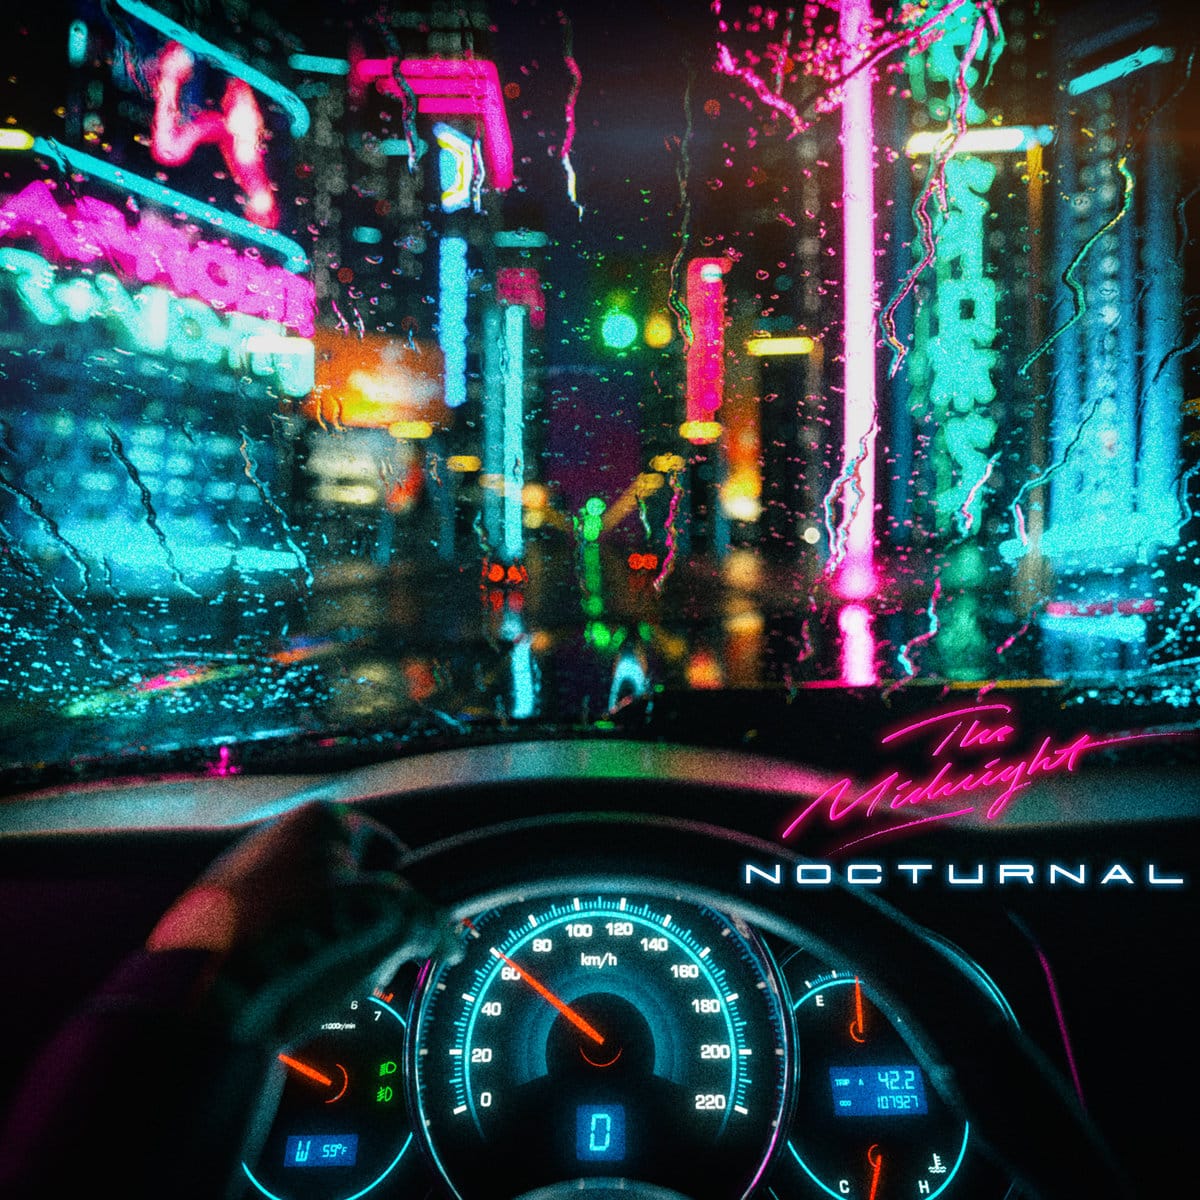
For this tutorial, I will be drawing inspiration from several tracks by The Midnight.
In particular, their album “Nocturnal” is an all-time favorite of mine:

This genre of Synthwave is definitely more “upbeat”, with a heavy focus on 80s nostalgia and organic elements (more on that later 👀).
Here are a few tracks I will reference during this tutorial:
Now that we know the type of Synthwave we’ll produce, let’s get cracking 👇
How to Make Synthwave: Step 2 – Getting the Drums Right
First things first, let’s pick our BPM.
The tempo of a Synthwave track can vary wildly, from 80 BPM all the way up to 140 BPM.
Because I’ve chosen a more upbeat style, let’s go with 140 BPM. I can always slow it down later if I want:

I’ve browsed Splice and picked a Kick and Snare that I liked. Next, I laid down a basic 4-to-the-floor pattern:
Next, let’s add on some hats and a few claps:
Pro-tip: shift your snares so the transients don’t hit at the same time as the kick!

Next, I am going to do a bit of processing to create that Synthwave vibe.
Processing the drums
In order I am going to add:
- Reverb on the Snare and Claps
- Room Reverb on the whole Drums Bus
- Parallel Compression on the whole Drum Bus
Snare and Clap reverb
Let’s start with number one. I’ve gone with the free plugin Voxengo OldSkoolVerb, which I am using in parallel (more about parallel processing over here):

Basically, this allows me to dial in precisely the amount of reverb.
Pro-tip: make sure your reverb is set to 100% Wet when working in parallel!
This also lets me create the classic “Gated Reverb”. Essentially, this is when you control the volume of the reverb. You basically want to cut the tail of the reverb suddenly.
I’ve done this with some volume automation, but you can also use sidechain compression.
Here’s what it sounds like without and with the “Gated Reverb”:
These are the subtle things that will make your track sound like a real Synthwave track!

I am going to apply the same process to my claps.
Pro-tip: use the same reverb settings on multiple sounds! This will give a sense of cohesion to your track.
Get the headstart you need in music production with our EDM Starter Kit 🎛️
Get our collection of high-quality presets, samples and PDF guides – suitable for all genres of electronic music 👇
Drum Bus Room Reverb
Next, I am going to add some Room Reverb to the full Drums Bus. This will give a feeling that all the drums are in the same room.
For this, I am going to use this 4-step process:
- Set up a parallel channel, with a reverb set to 100% Wet:

- Remove all the mid information from the signal

- Add the free plugin Wider set to 200%
- Add an EQ and remove the low-end
Here’s what the beat sounds like with and without the Room Reverb:
Sidechain compression and saturation
Finally, I am going to add some sidechain compression and saturation. This stage is optional but can give your beat a bit more punch. My favorite plugin for this is Camelphat3 😍
Let’s leave the beat there for now. I will probably switch out some samples anyway as the track progresses. For now, this will work as a foundation to build the rest of the way.
Next, let’s move on to some melodic elements 👇
How to Make Synthwave: Step 3 – Picking a Chord Progression
Next, let’s find our chord progression.
Because I want my track to be upbeat, I went for a Major chord progression. Here is what it sounds like:
The chord progression is D (x2) – A – G, then D (x2) – G – Em.
If you need to refresh your theory of chords, check out our full guide over here 🔥
Alternatively, you can use a free chord generator like Soundgrail to generate chord progressions for you:

Now let’s talk about sound selection. As mentioned in the intro, Synthwave is a genre that relies heavily on 80s synths. But don’t worry if you don’t have an original Minimoog 😅 There are plenty of emulations of analog synths on the market today.
Along with the drums, this part is the most important to nail down the Synthwave vibe.
My recommendation is to listen to as many Synthwave tracks as possible and imitate the sounds you hear.
For this tutorial, I am going to use the OB-Xd as much as possible. It’s free, so go and download it if you want to follow along:

For the chords, I used the preset “Pad_Saw” from the Present Bank 023. I made some slight tweaks and adjusted to filter to remove most of the high-end.
Finally, make sure to use sidechain compression with the Kick and Snare. This will give your synths that pumping effect. It will also allow your kick and snare to shine through.
How to Make Synthwave: Step 4 – A Smooth Bassline
Next, let’s move to our bassline. Here I’ve selected 2 presets in OB-XD, “Bass Fretless” and “Axel_BASS”. To keep things simple, I am following the root note of each chord:

Here’s what it sounds like:
To get that pumping effect, I’ve used the free plugin STFU. It’s basically a free alternative to the famous LFO Tool plugin:

Here’s what it sounds like in context:
Nice! Alternatively, you can also design your own bass. I’ve covered this in detail in our 9 Must-Know Synth Bass Sounds, so make sure to check that one out!
How to Make Synthwave: Step 5 – Adding Leads and Arps
Next, let’s fill out our loop a bit more.
The first glaring thing that is missing is some kind of lead.
So once again, I’ve returned to the OB-XD. I started out with the Junky Brass preset, and tweaked it until I was happy:

Pro-tip: the OB-XD can sound very dry because it has no built-in effects. So make sure to add some reverb and delay in your mixer when browsing through sounds!
Here’s the melody I came up with:
Nice 😍
When it comes to leads, make sure to keep it simple. Your melody needs to be repetitive, yet catchy. A good test is to whistle your melody. If you are able to whistle it after listening to it once or twice, it’s catchy! 🎵
Next, let’s add some arps to fill out the arrangement.
If you haven’t heard of arps, they stand for “arpeggios”. Basically, it’s when you play each note of a chord separately. We have a full guide on arps and how to create them with your MIDI keyboard right here BTW 😉
I’ve gone with a plucky sound, where I filtered out the lows and highs:

Here’s how it sounds in solo and in context:
You’ll notice that it sits way back in the mix. This is because I don’t want it to interfere with the lead.
Get the headstart you need in music production with our EDM Starter Kit 🎛️
Get our collection of high-quality presets, samples and PDF guides – suitable for all genres of electronic music 👇
How to Make Synthwave: Step 6 – Adding That Organic Touch
A common theme across Synthwave music is their organic feeling.
By this, I mean that a lot of tracks feel like they are played by an actual band.

This is especially true of artists like The Midnight, FM-84, and Timecop1983. But what makes a track feel organic? If I had to pinpoint it to one thing, I would say “live performances”.
This means you are recording yourself playing. This could be a physical instrument (guitar, bass, or drums), an analog synth, or even a virtual synth.
Let’s demonstrate this with two examples: some guitar, and a synth solo.
In this first example, I’ve added some guitars:
Pro-tip: recording some guitars? Record them twice and pan them 100% Left and Right for extra width!

Adding Solos
Solos are a key part of Synthwave. Let’s try adding a synth solo over this section. For this, I am going to record my MIDI keyboard directly:
To get that Synthwave sound, make sure to add “Glide” to your notes:

This will make each note “glide” into the next, giving it a “live performance” feeling.
If you feel comfortable, you can record your solo directly to audio. Another option is to record to MIDI first. You can then edit your notes manually:

In Ableton Live, simply select a MIDI track, and arm the recording:

What if I don’t know music theory enough to write a solo?
No worries! Just record random notes to MIDI! FL Studio and Ableton Live both have “Scale” modes. These will help you shift each note into the proper scale.
Here’s an example of a random solo I recorded:
Now, open up the Piano Roll, and go to View –> Scale Highlighting. There, select your scale:

Make sure “Note grid highlights” is also selected. Finally, enable “Snap to scale”. Now, every note you move will automatically snap to your selected scale!

Here’s what my solo sounds like now that I’ve snapped each note to scale:
In Ableton Live, you can do the same thing by using “Fold to Scale”.
First, select your scale in the MIDI Clip View:

Make sure “Fold to Scale” is activated. Now, all the highlighted yellow notes are in your scale! All you have to do is drag notes up or down into the scale:

Of course, this doesn’t mean your solo will sound amazing. But at least it will be in key!
Pro-tip: if you don’t have any instruments, you can always grab a sample of Splice or Loopcloud 😉
How to Make Synthwave: Step 6 – Vocals or No Vocals?
This section is really up to you. A lot of Synthwave tracks are instrumental, so you don’t have to include vocals.
In this case, I found this vocal which matches the track pretty well:
If you’re looking for vocals on Splice, you have to be very selective. Don’t pick anything that sounds too modern (i.e. too much autotune or formant shifting)! Remember, we are going for an 80s aesthetic.
I would say that the vocal I picked here is OK, but not perfect. Ideally, try working with a vocalist to get exactly what you want.
Another alternative is to use a vocoder! We have a full guide on how to use vocoders on vocals, so I’ll keep it short:

Here, I am using the free Vocoder plugin TAL Vocoder. I’ve recorded some crappy, out-of-tune lyrics, and this is what I transformed it into:
How to Make Synthwave: Step 7 – The Arrangement
Finally, to wrap this guide up, let’s talk a bit about the arrangement.
Most Synthwave tracks follow a classical arrangement composed of verses and choruses.
In a lot of cases, you also have a pre-chorus, post-chorus, and probably a bridge. Let’s have a look at one of our reference tracks, “Souvenir” by The Midnight:

Here, I’ve laid down some timestamps to mark each section. In Ableton Live, you can do this with “dummy clips”. These are simply empty MIDI clips that you name to identify each section.
In order we have:
- 8-bar intro
- 16-bar verses
- 8-bar pre-chorus
- 16-bar chorus
- 4-bar post-chorus
Then the structure repeats until the bridge, and then the closing chorus and outro.
My recommendation here is to simply copy this structure for your own track.
This will help you lay out the entire track, and what each section should contain. For example, the reference only features a guitar in the intro. So let’s do that for our track!

Do this for each section of your track, checking what your reference track contains. But feel free to play around, and extend or shorten any section you want. You might also replace the vocal with a synth for example if you’re going for an instrumental track.
Get the headstart you need in music production with our EDM Starter Kit 🎛️
Get our collection of high-quality presets, samples and PDF guides – suitable for all genres of electronic music 👇
That’s It For This Guide on How to Make Synthwave!
That’s a wrap for this guide on how to make Synthwave! I hope you learned something new and were inspired to create some awesome tracks!
Did I miss out on anything? Got any questions? Feel free to reach out to me at [email protected]

