


Want to master your own music like the pros? Check out our comprehensive course, Mastering For Producers 🚀
If you’re a producer who’s mixing your own music, then you’ll probably want to use the tools, techniques and resources at your fingertips to get the best sound.
Mix bus processing is one of these tools that can take something from good to great, but what is it?
Most often you’re tweaking your mix on the micro-level – making your snare drum punchier, your bass fatter, and your synths wider, hoping that the end result is something that your listeners love.
Yet like any passionate creative, you want to know:
“How can I push it that extra 1%? How can I make it go to 11?“
This is the power of mix bus processing. In this article, you’ll learn:
- Why mix bus processing is used on all the best songs
- The best mix bus processing techniques (and how to set them up)
- Some recommended tools & plugins you can use
Let’s go! 👇
Cue, mix bus processing!
In a nutshell, the mix bus is the final track in your DAW that all audio is routed to.
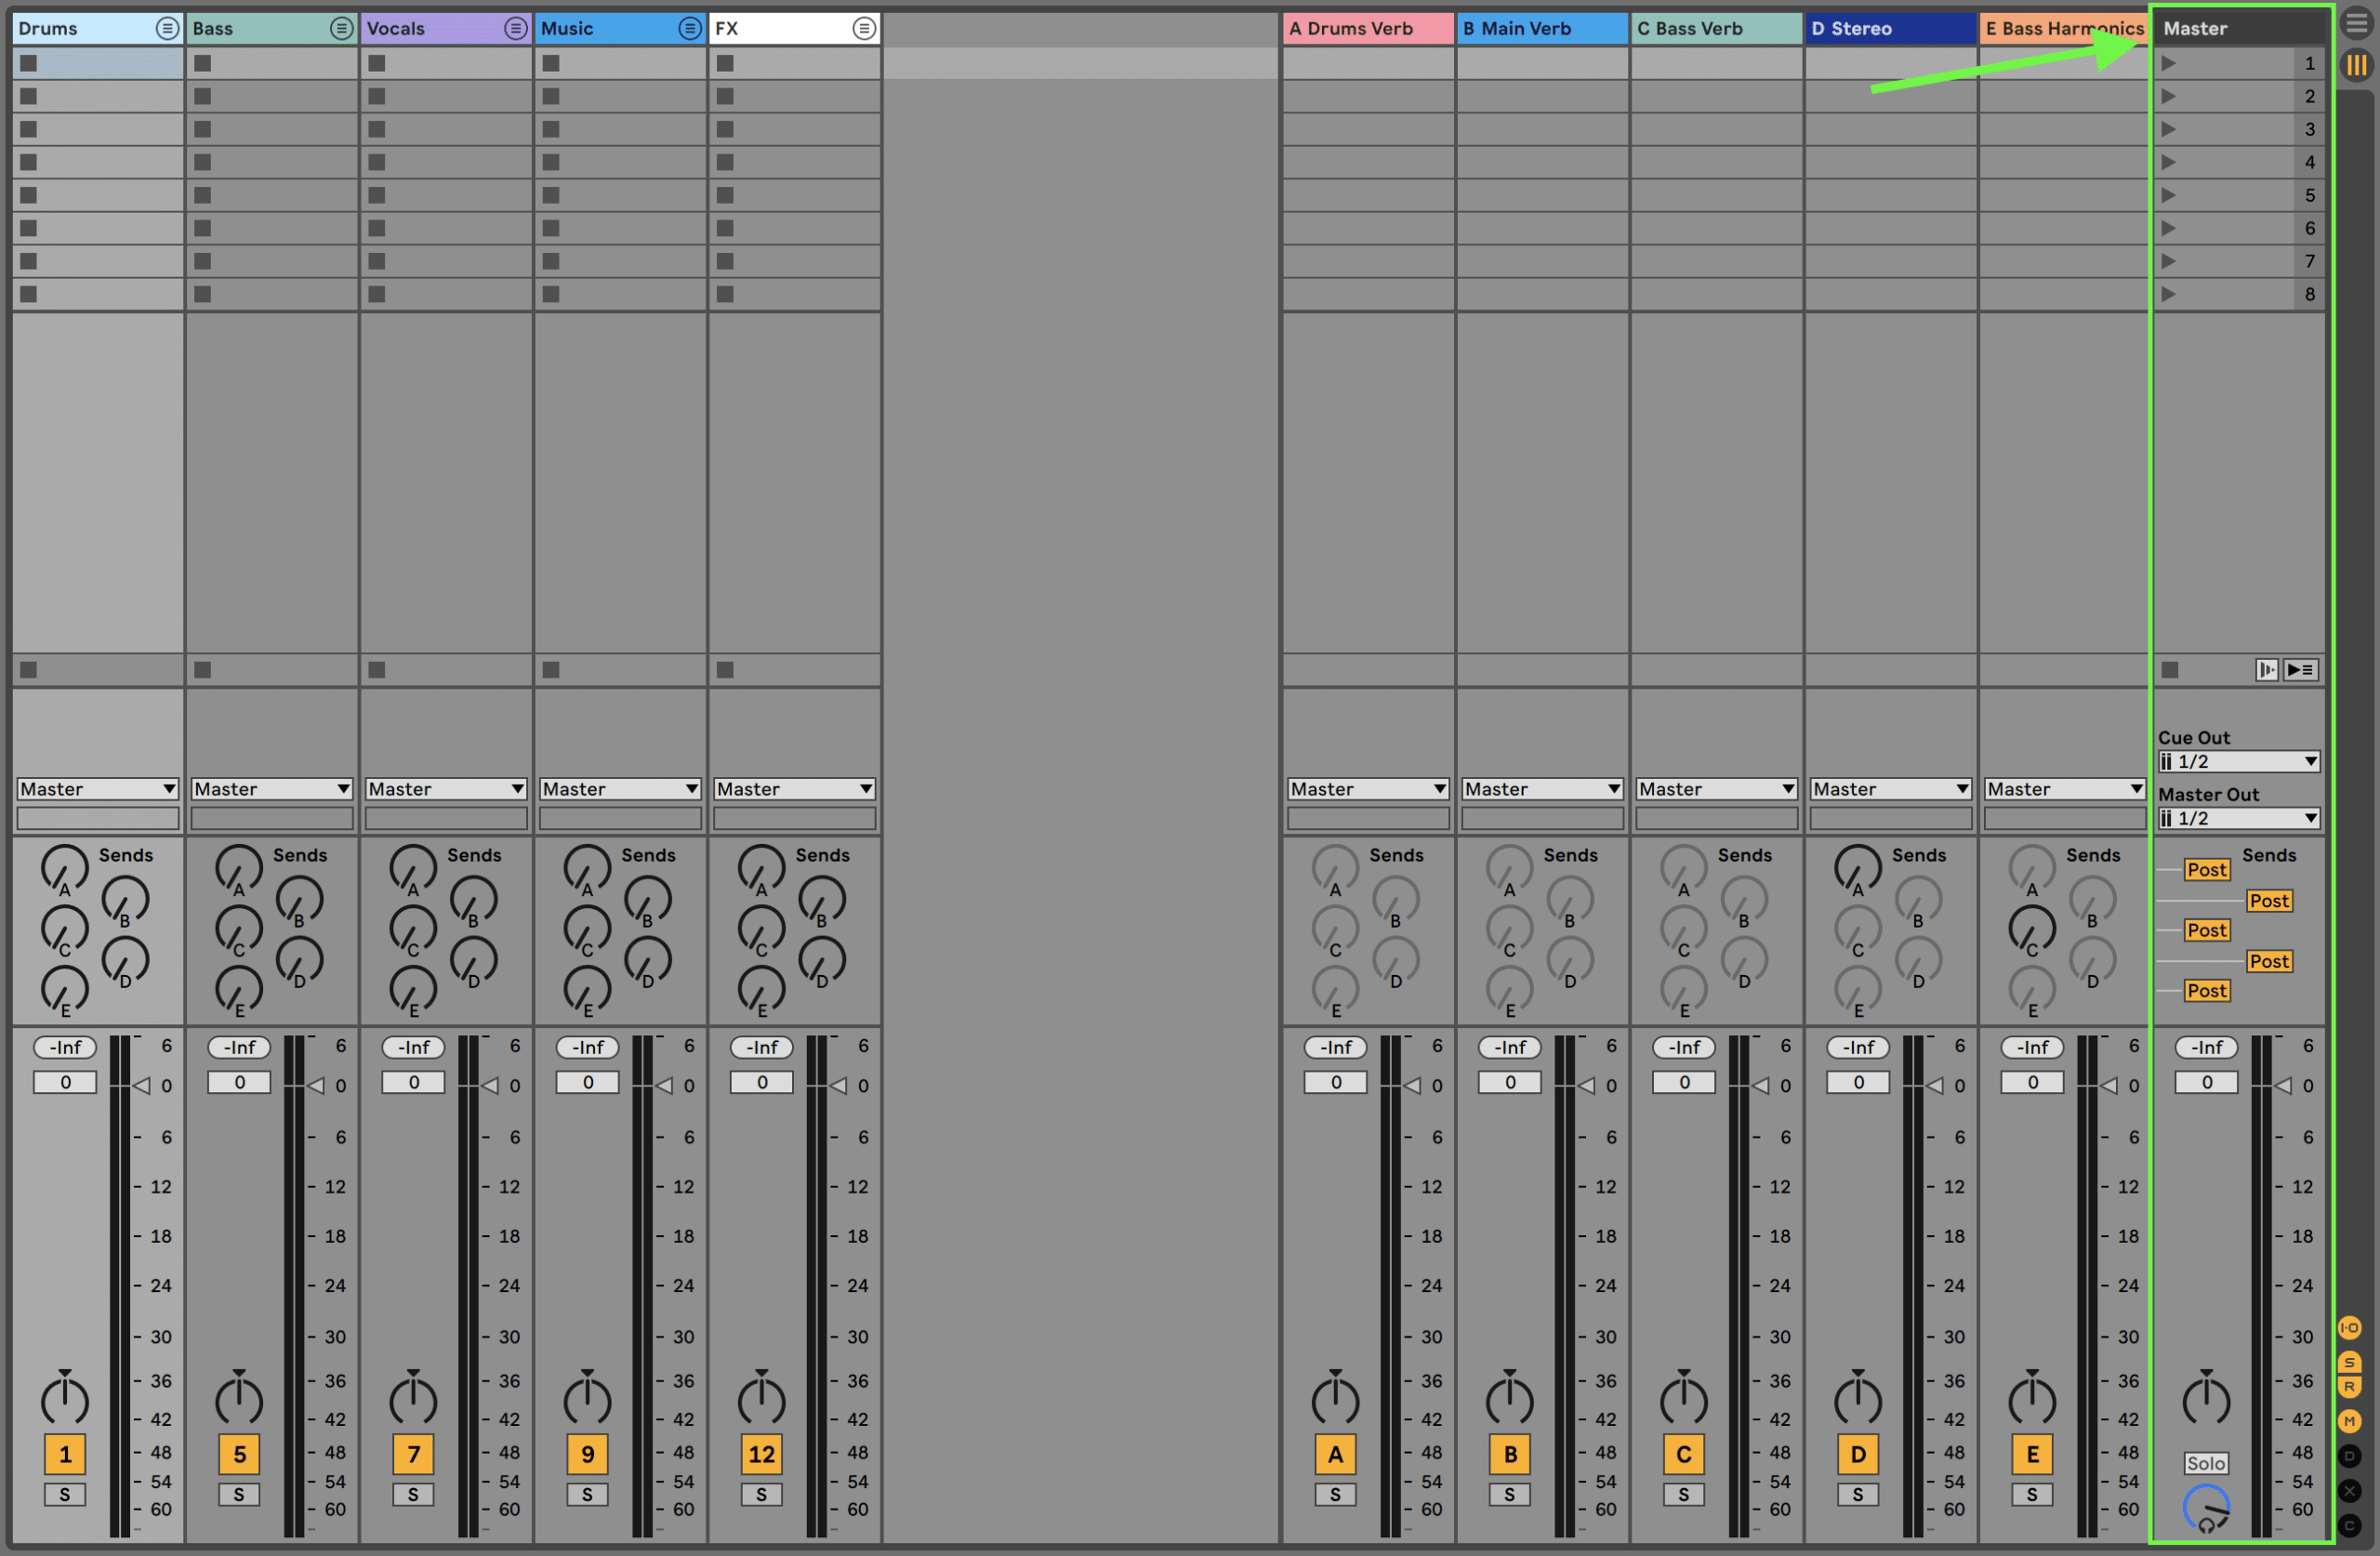
Any processing that occurs on this channel, outside of a mastering context, is called mix bus processing.
However, mix bus processing is a polarizing topic:
- Some look at it with caution and opt to never use it, vouching that if you can’t get it right “in the mix”, that you shouldn’t even bother trying to lean on mix-bus processing to improve what otherwise might be a lacklustre mix.
- Some take a measured approach and will use a mix bus carefully considering its impact on the overall presentation of the mix. People in this camp look at it as another tool to moving the needle forward. Neither is it a necessity to a great mix.
- Finally, some will mix straight into the bus allowing it to shape and “set the tone” for the rest of the mix. People who mix into a processing chain often see it as part of the their style as a mixing engineer, imprinting a sonic character that sounds like ‘them’.
Mix bus processing: yes or no?
As a mastering engineer who works with the two-track (stereo mix) supplied, I’m often asked what my thoughts on mix bus processing are – questions like whether or not engineers and producers should leave that processing on or off ahead of mastering.
Here’s my take – the mix bus is a channel of audio in your mixing session, therefore the freedom to process it improving the connection and overall sound of your mix is fair game.

If it helps you tell the story of the mix better, I’m all for it being left on. Ahead of mastering, you want your best presentation of the mix – one that you’re proud of and that you can honestly say represents the music in its best light, so if you need to use a mix bus to do that, so be it.
As the saying goes, if it sounds good, it sounds good.
If you’re unsure if it’s helping the mix, or if it will tie the mastering process down, print two versions one with and one without. Make notes of why you may like one over the other, and let that be known to other people you show if you’re seeking feedback.
Honesty, communication and understanding are the best policies when mixing a record – both with yourself and any other parties involved if you’re working with a team.
If you’re seeking to correct your mix on a micro-level, you should address that element independently of the mix bus. Mix bus processing addresses the overall make-up of the mix – if you’re trying to fix finite details on the mix bus, you will end up doing so at a compromise for adjoining elements within the mix.
Improve your mix to begin with, don’t rely on mix bus processing alone.
Recommended: Mixing For Producers
The Gear You’ll Need: A Compressor, Parametric EQ & Mid/Side EQ
Here are a few suggestions for plugins you can use on your mix bus:

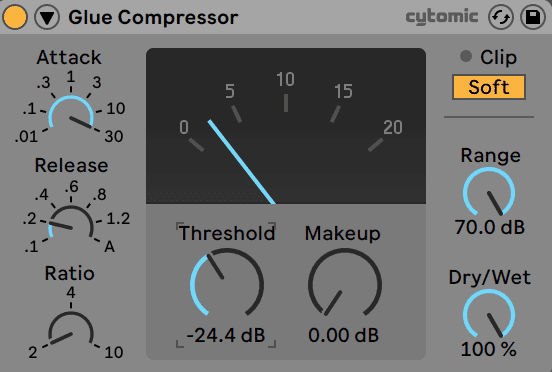
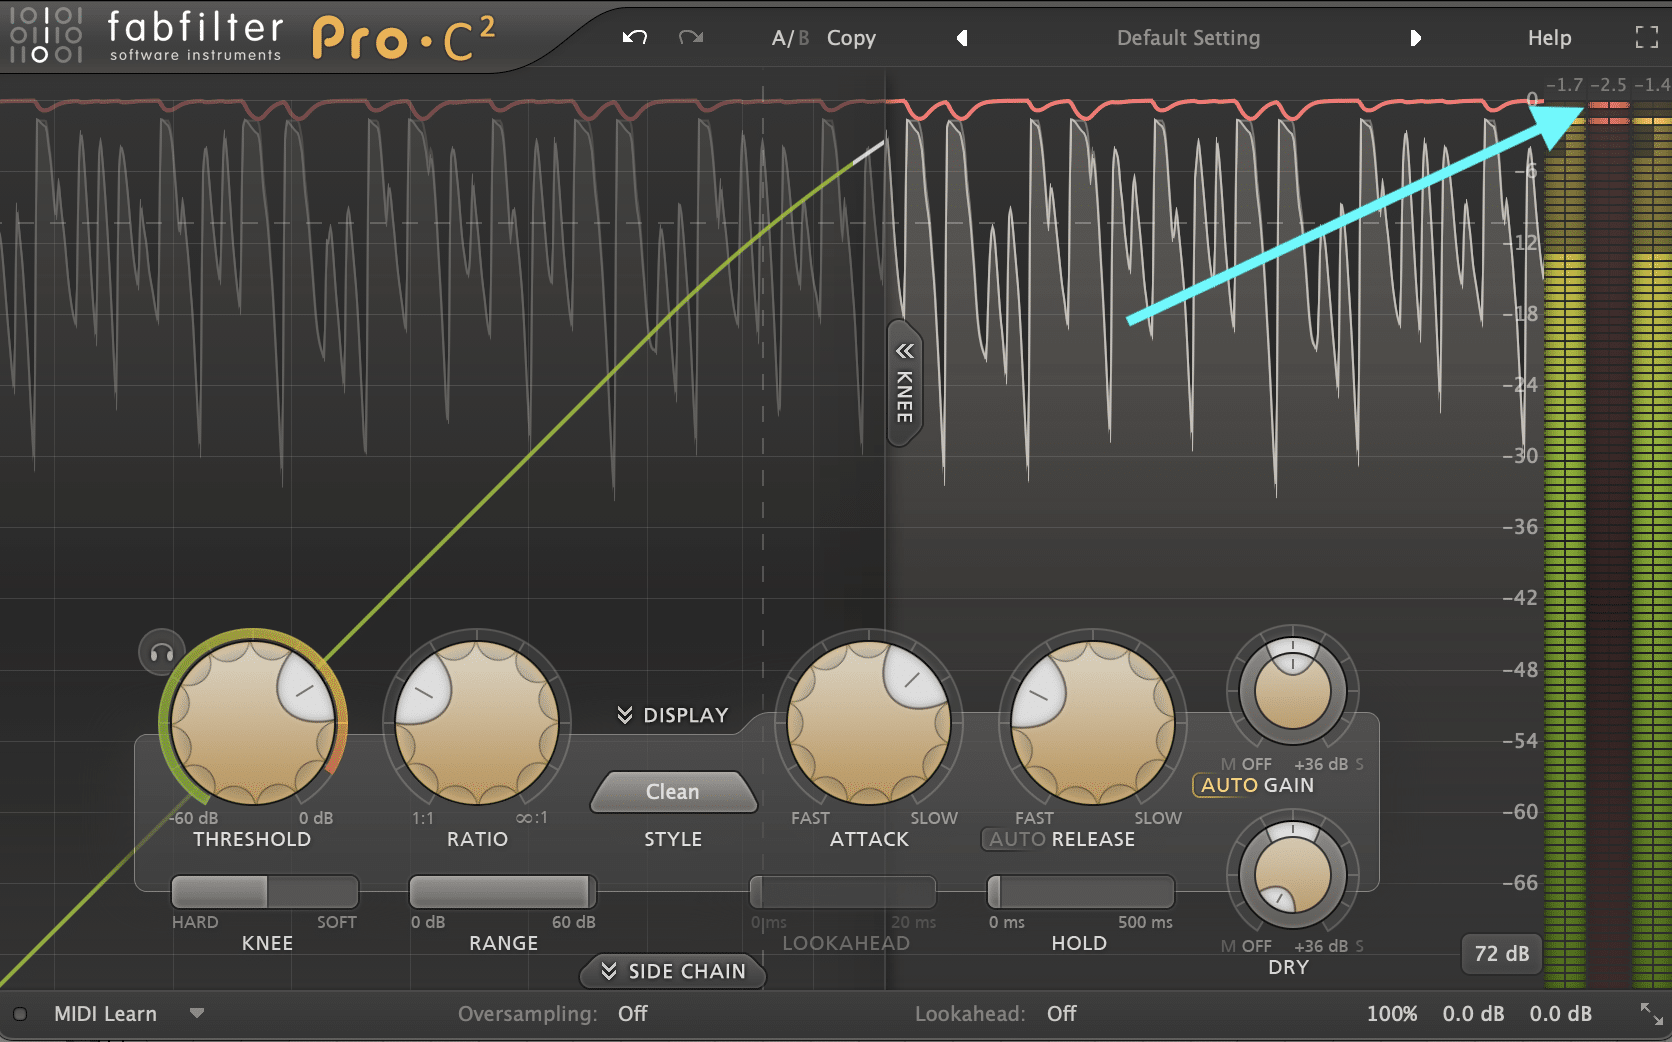
A compressor
Picking a good compressor is paramount when processing your mix bus. You want something that shapes the dynamics effectively, and each will leave a sonic imprint on your mix.
Here are a few options:
- Default Compressor
- Vertigo VSC-2
- FabFilter Pro-C 2
- UNISUM
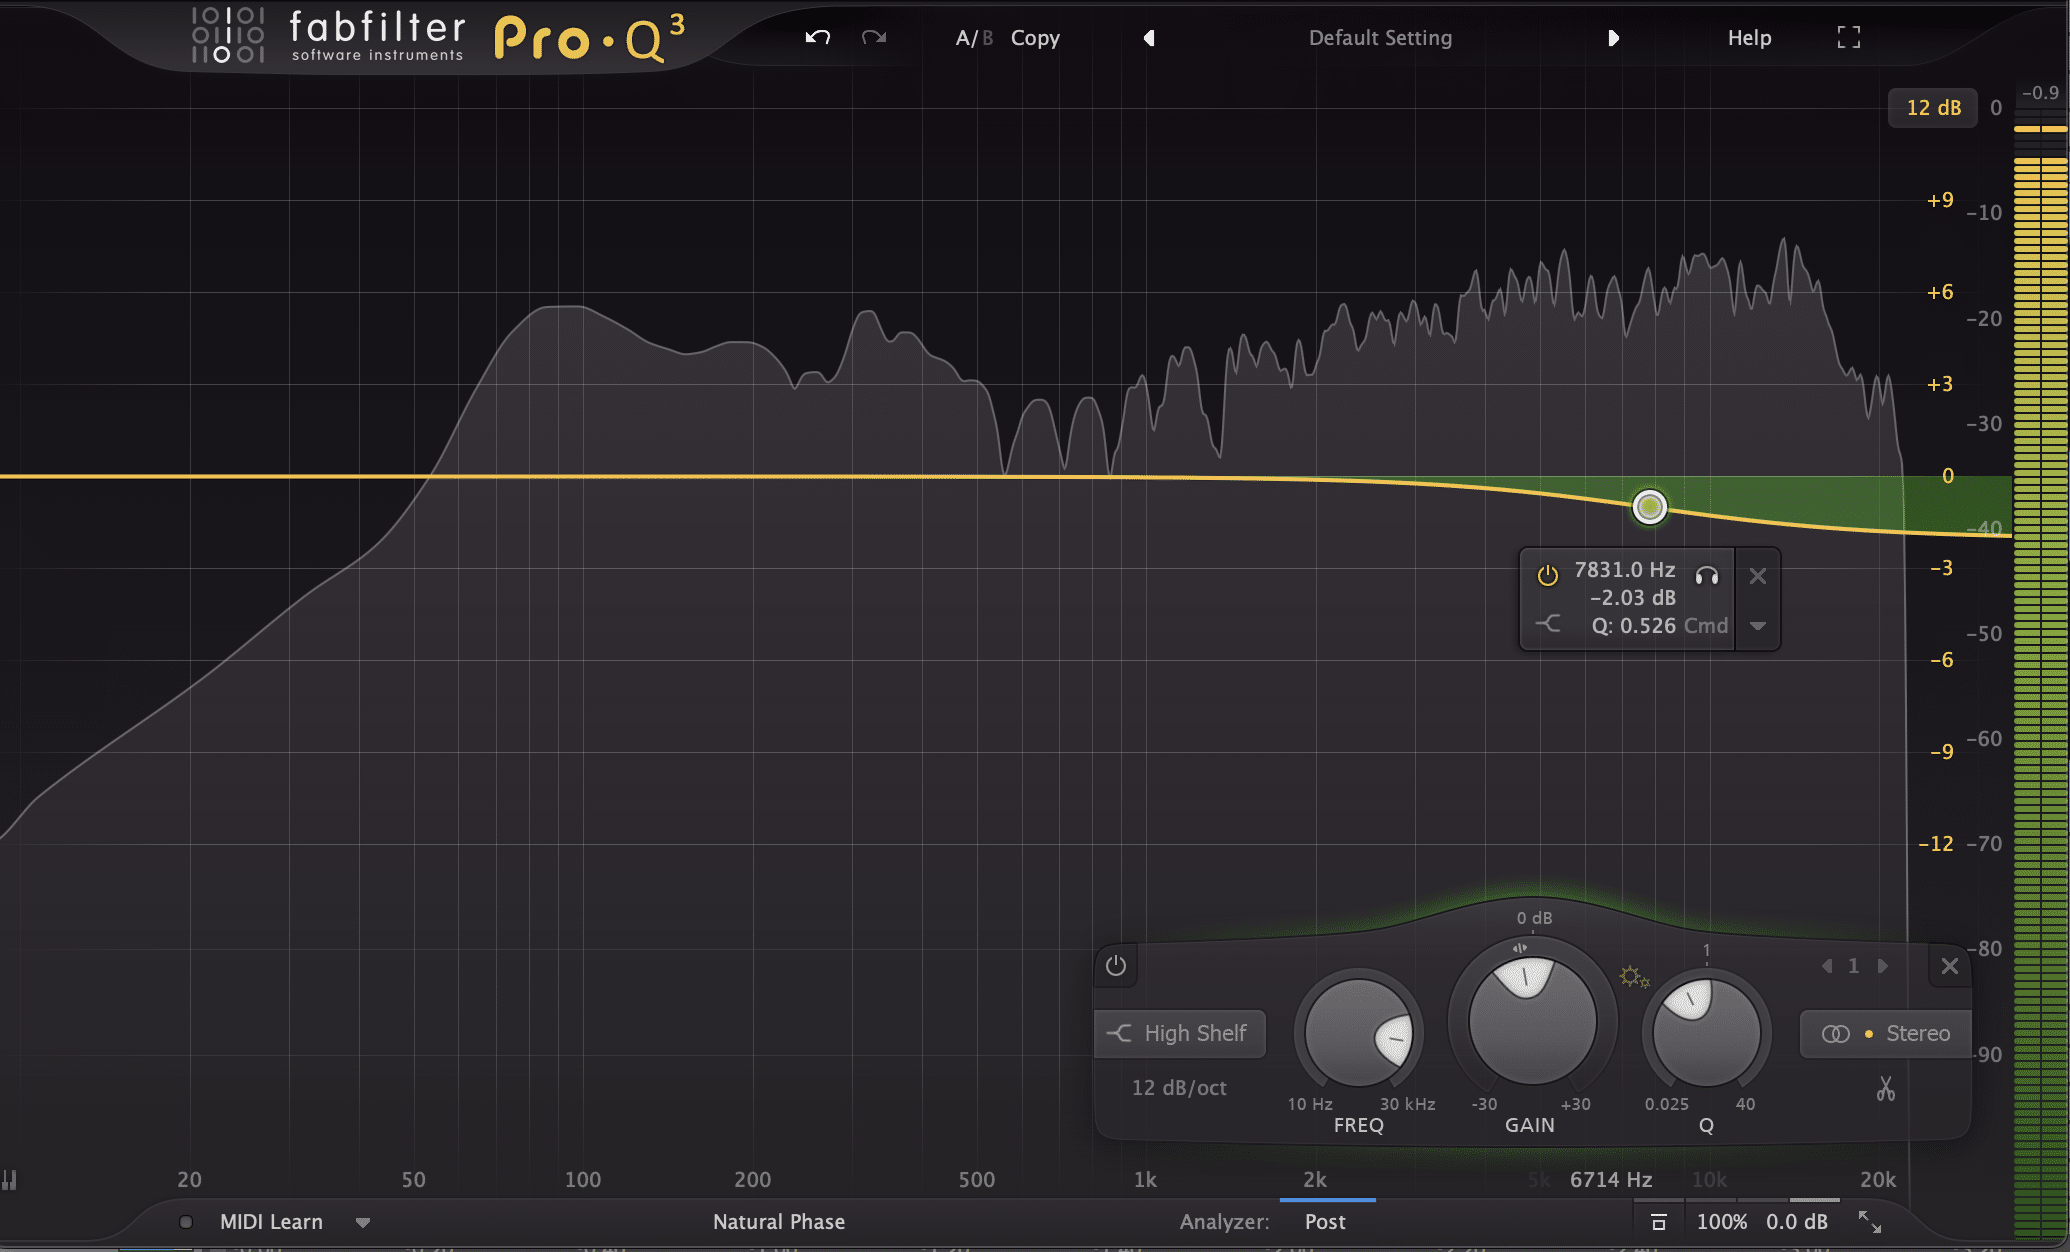
A parametric EQ
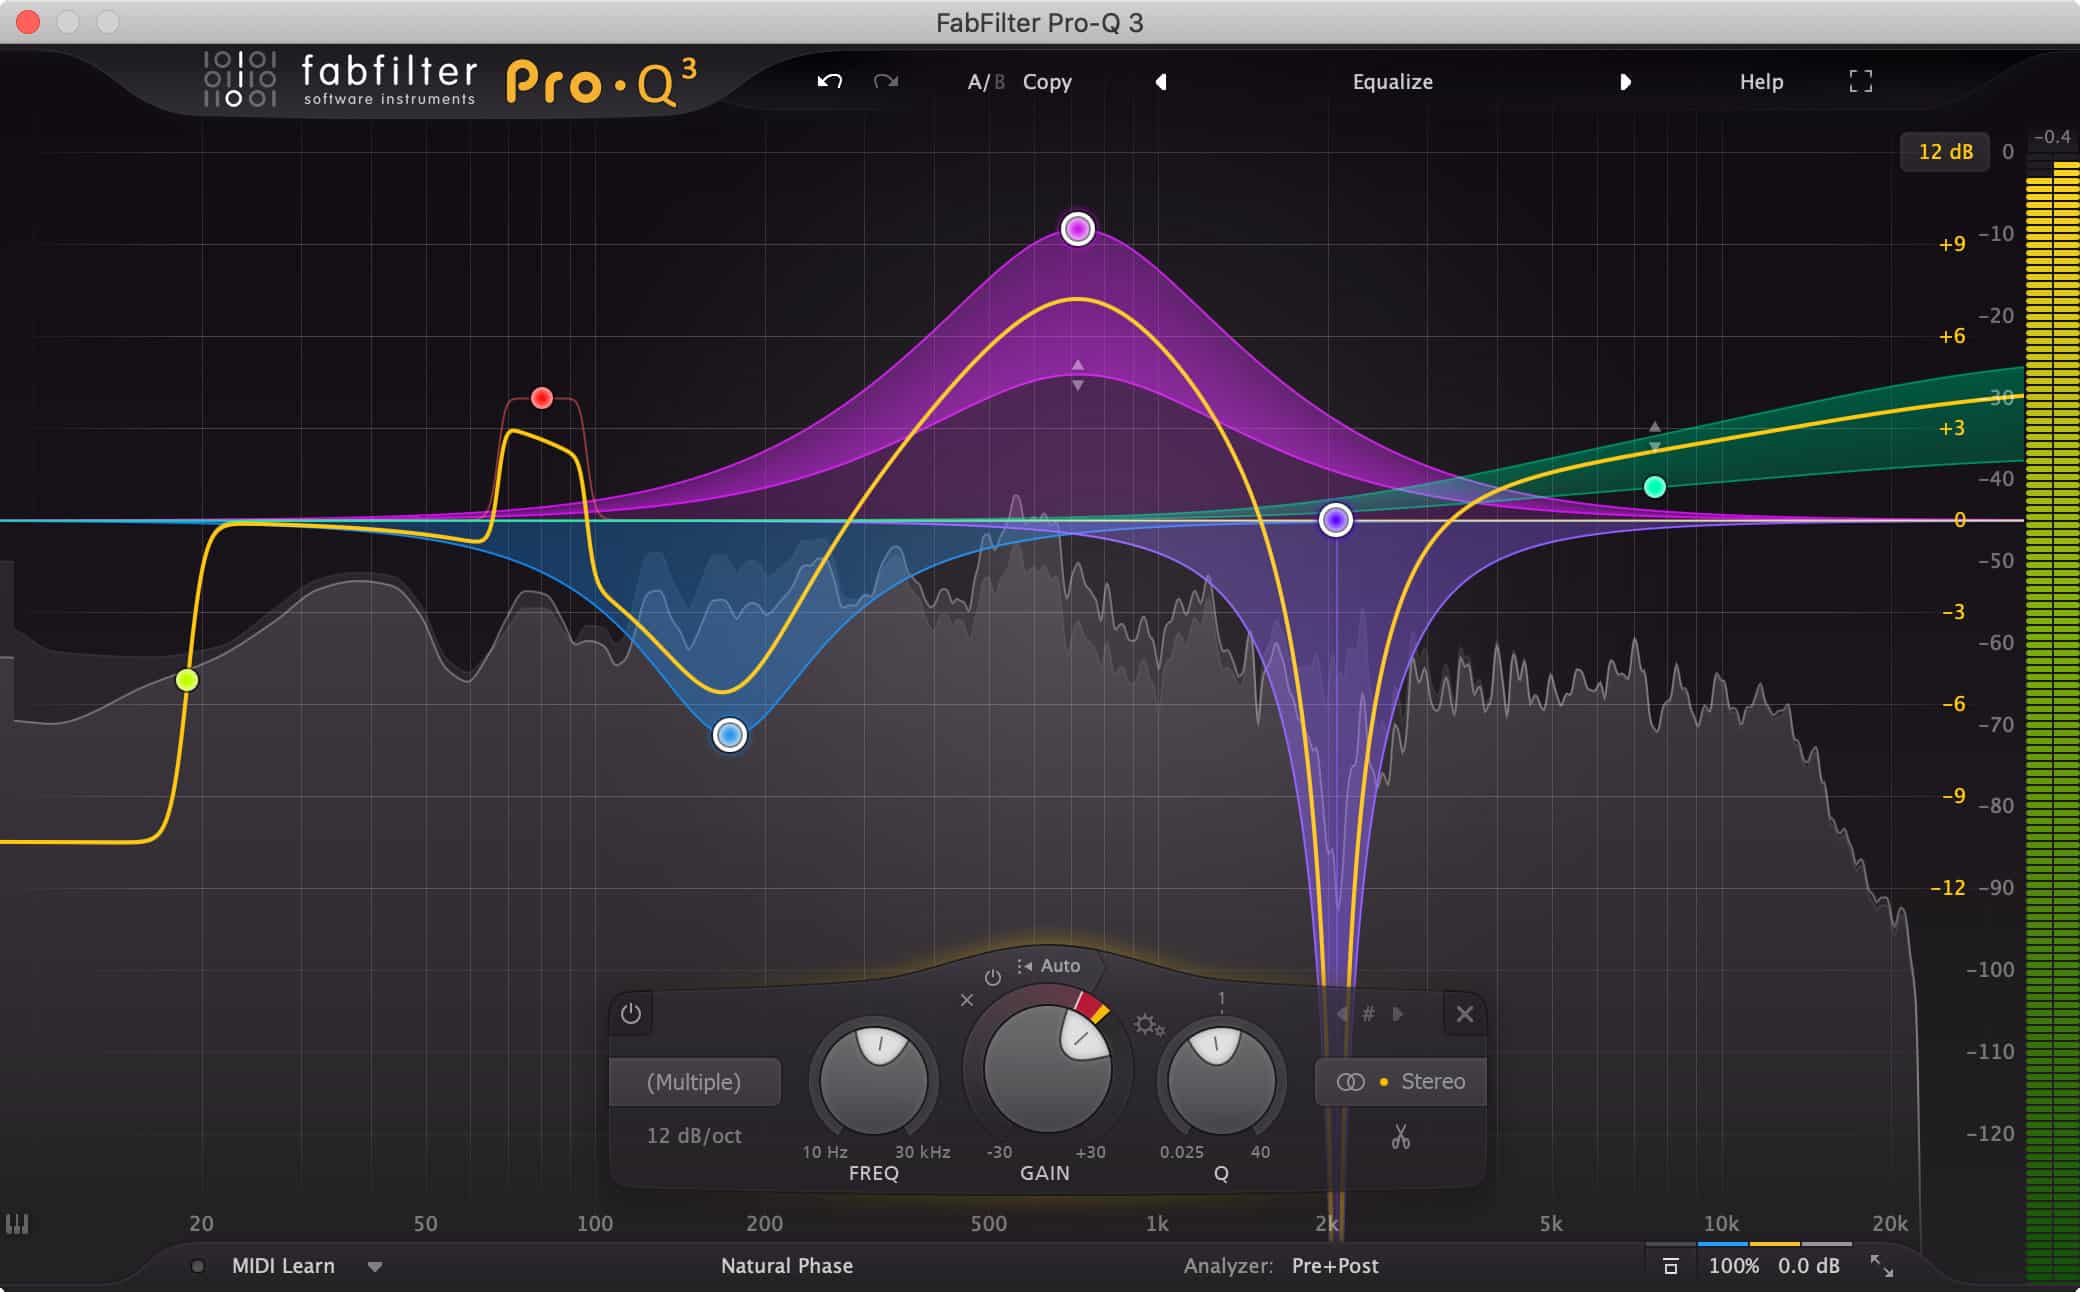
EQ is one of the most powerful mixing tools in general. When used carefully on your mix bus, it can help your mix sing.
I primarily use FabFilter Pro-Q 3, but here is a more comprehensive list of options:
- Default EQ
- FabFilter Pro-Q 3
- iZotope Ozone EQ
- DMG Audio EQuilibrium
Try and go for a digital parametric EQ here. As great as color EQ’s are (i.e. Pultec EQ), the above options are far more flexible.
A mid/side (M/S) EQ
Mid/Side processing is a gamechanger. It allows you to shape the stereo image exactly as you want it, and it can be great for helping mixes breathe.
Most advanced EQ’s mentioned before have a mid/side mode, but here are a few options anyway:
- Default EQ (if it has a mid/side mode)
- Brainworx bx_Digital V3
- FabFilter Pro-Q 3 (mid/side mode)
Can’t afford the paid options? Check out these free VST plugins.
Knowing what to do next
It’s all well and good to be told to slap on a few plugins and call it a day, but this will probably cause more harm than good.
Here are a few ways to move forward once you’ve started creating your own mix bus.
So, what sort of processing can live on a mix bus?
I like to break the processing down into four categories: Dynamic, Tonal, Harmonic and Mid-Side.
- Dynamic: Compression, Limiting, Multiband Compression
- Tonal: EQ
- Harmonic: Distortion, Saturation, Excitation
- Mid/Side: M/S EQ, Stereo Imaging (careful here)
Thinking of the mix in these 4 dimensions can help you make more informed decisions (e.g. don’t add subtle distortion when you need less mid-highs).
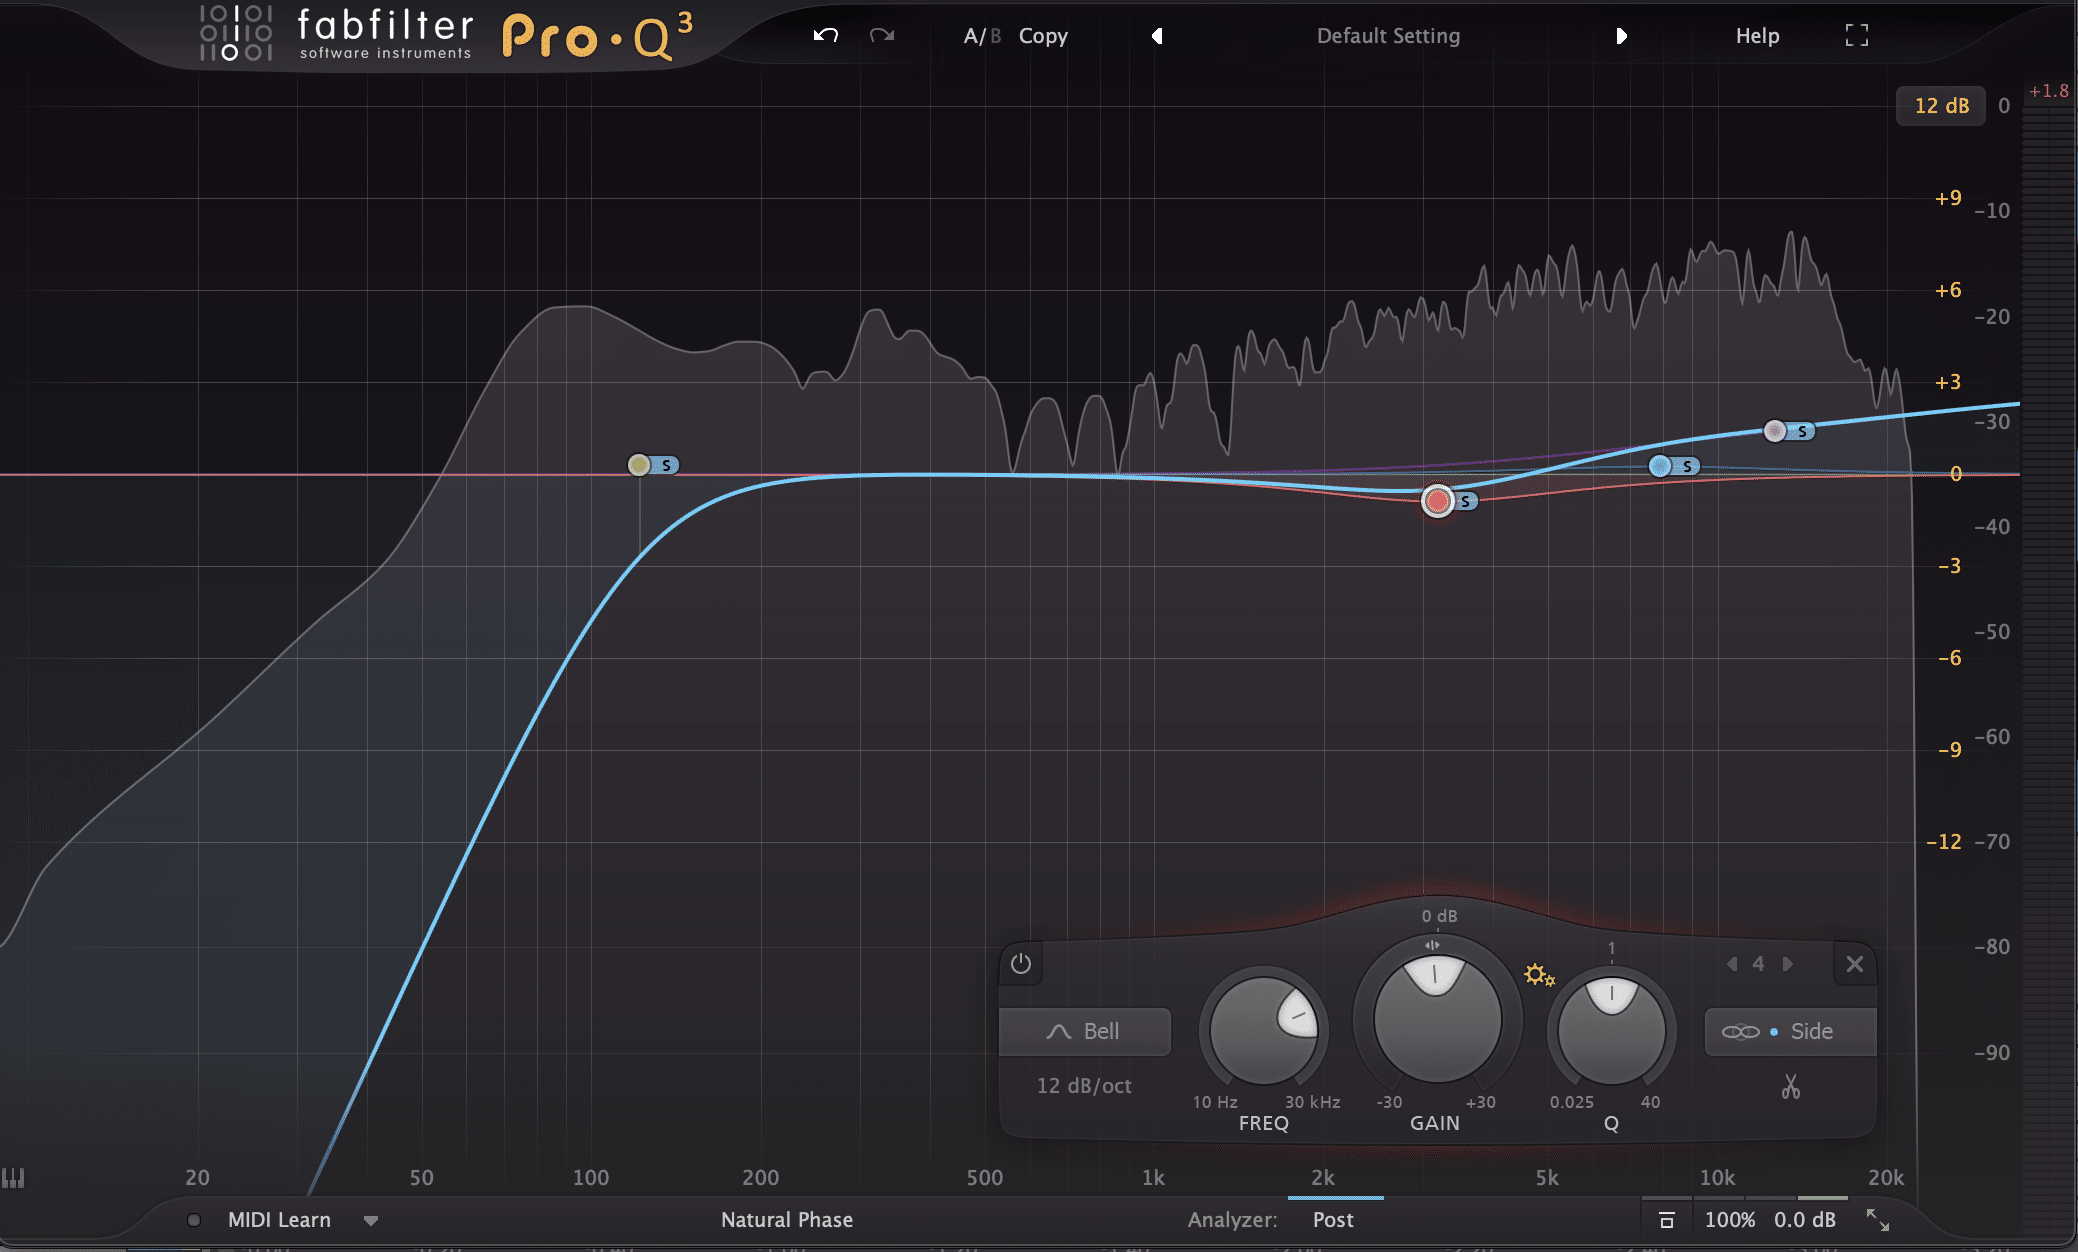
Pro-tip: try to use the least phase-destructive versions of processing, such as the ‘Natural Phase’ option on FabFilter Pro-Q 3. This will keep the coherence of the mix, and your mastering engineer will thank you.
What processing does not live on a mix bus?
Generally, it’s best to avoid the following effect types when processing your mix bus: Time-based, Pitch-based, Chorus, and Phase-based.
- Time-based: Reverb & Delay
- Pitch-based: Frequency Shifters, Pitch Shifters
- Chorus
- Phase-based: Phasers, Flangers, Resonators & Comb Filters
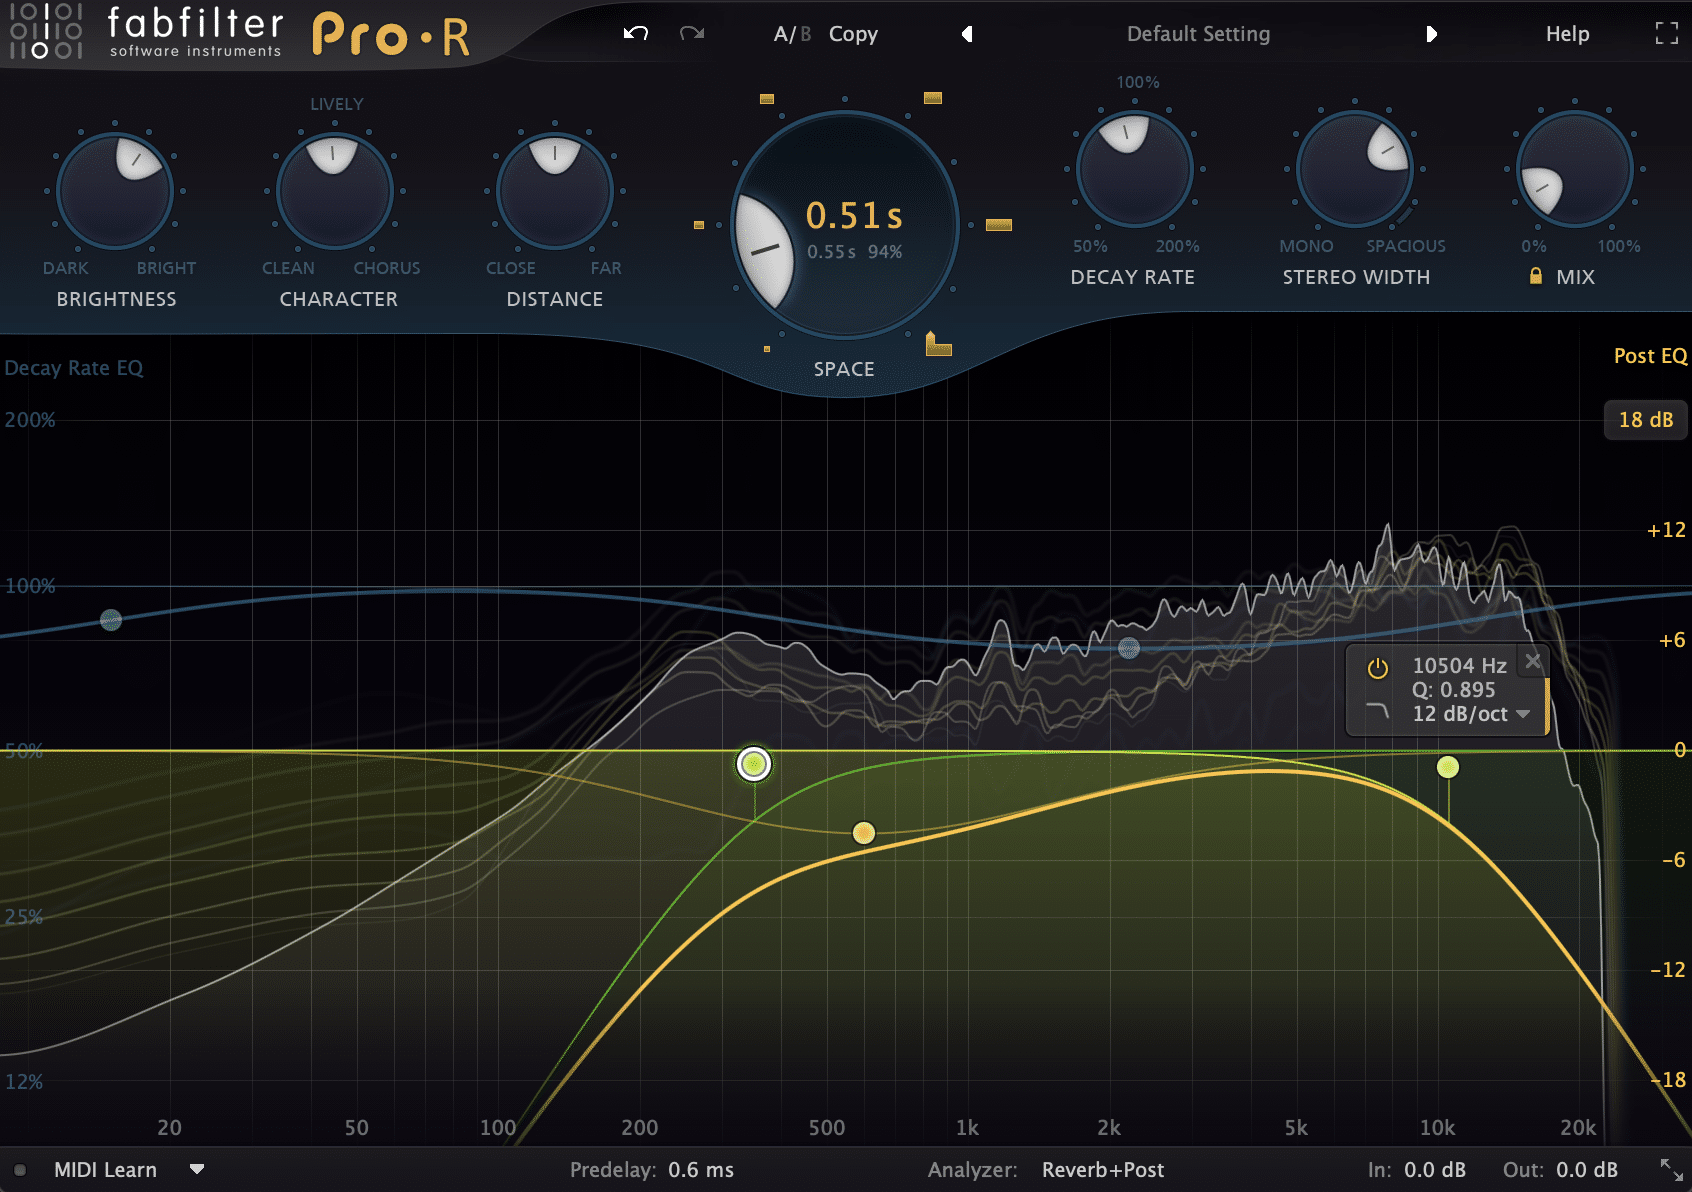
These are typically used as creative FX, and even when used in the mix, doing it on a send, or individual channel/bus would be better than the overall mix bus (e.g. drum reverb).
When building out the processing for your mix bus you want to consider:
“What dimensions of the overall mix would I like to have control over and why?”
Here are how we can shape dynamics and tone with the aforementioned processors:
Dynamic composition and depth
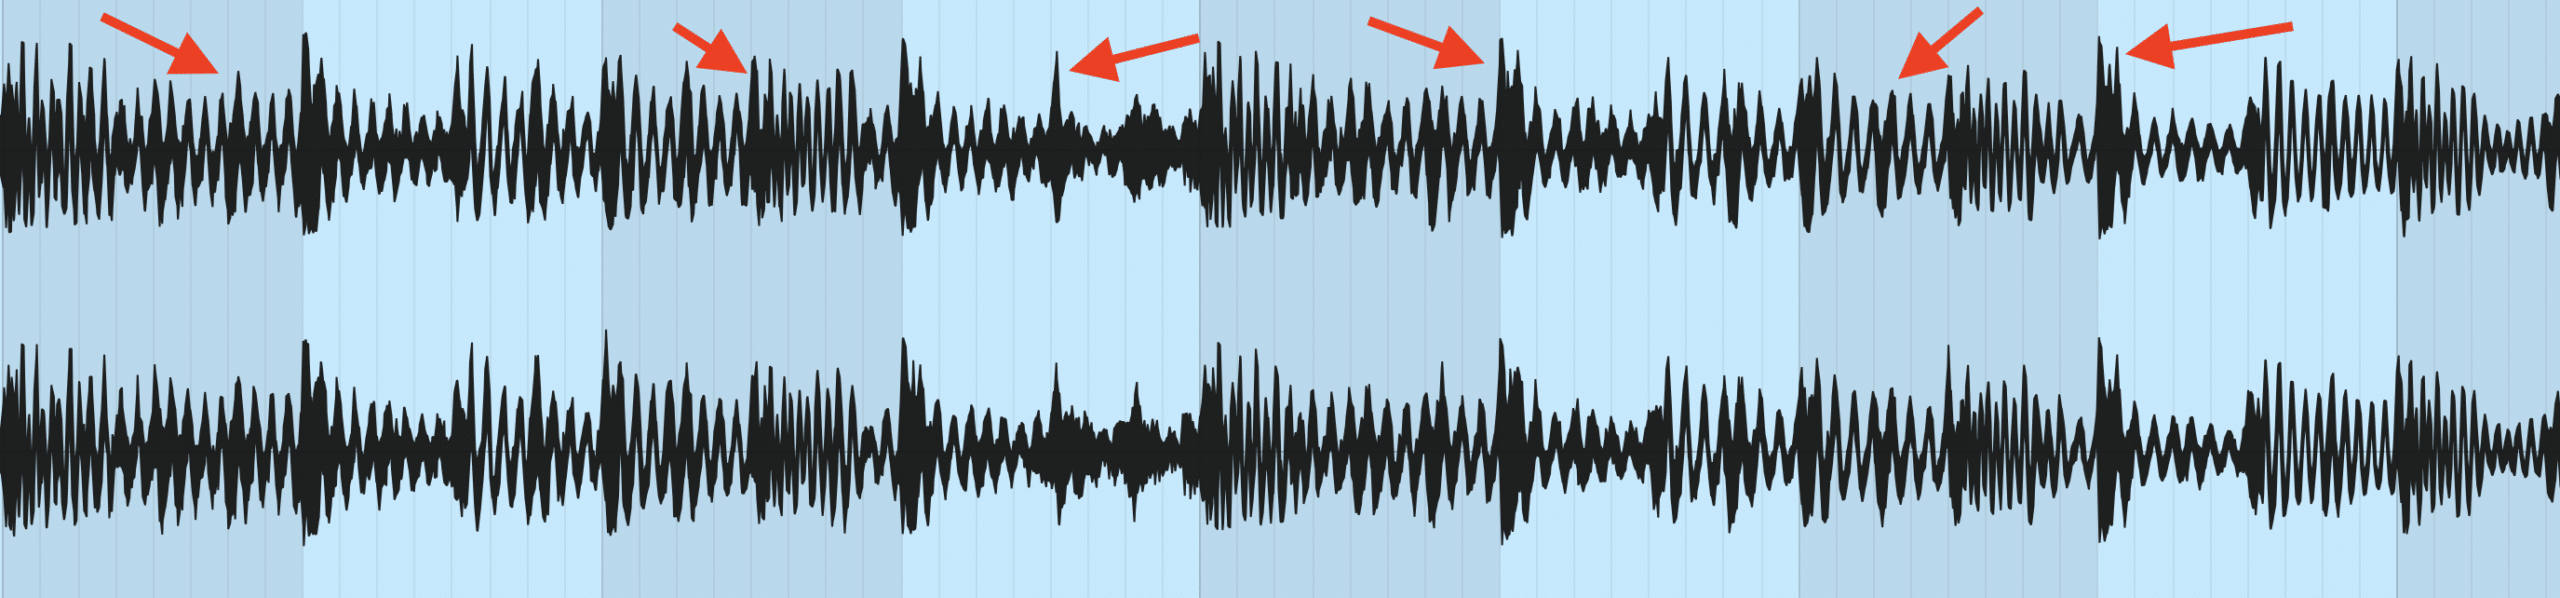
Typically when we’re talking dynamic composition from a mix-bus processing point of view, we’re considering the ‘microdynamics’.
These are the details of the short-term peaks and how they relate to the movement, weight, and impact of the music.
As the 3x Grammy Award Winning Mastering Engineer puts it:
“Microdynamics are the music’s rhythmic expression.”
Bob Katz
Some questions you can ask yourself when considering the dynamics of your mix:
- How punchy/snappy is your overall mix?
- What distance/intensity is there between your transient information and the body of the overall production?
- Does the mix feel too flat or too spacious?
Downward compression for rounding transients (gluing a mix):
Downward compression is the most common form of dynamic processing.
Applying it brings the high-level passages and peak information of signal down, helping smooth transients out and making your mix sound fatter.
Here are my recommended settings for downward compression on your mix bus:
- Ratio: 2:1 or 4:1
- Attack time: 10-40ms
- Release time: 75-300ms
Downward compression for punch/depth:
While this style of compression won’t help the snap of your mix along, it can help the punch. Slower attack times allow room for the transients to breathe, followed by a little bit of release to sustain the tail and body of the mix.
These are some great settings for letting the transients breathe:
- Ratio: 1.5:1 or 2:1
- Attack time: 30-125ms
- Release time: 40ms-125ms
Upward compression for thickness/weight:
Upward compression is used to lift the low-level details and passages of a mix upwards. This brings up the apparent loudness without affecting the integrity of any transient detail and impact.
This is achieved through parallel processing – compressing a parallel send of the mix bus (relatively aggressively) in order to bring out the low-level and mid-level details of the mix, to then blend back into the original signal later.
Here are my personal favourite settings for this, using the Leapwing DynOne dynamics plugin (although you can use any plugin that supports upward compression):
- Threshold: set for -4 to -12dB of GR (gain reduction)
- Ratio: 4:1
- Attack time: 125-300ms
- Release time: 125-300ms
Tonal Balance: Low-frequencies & High-frequencies
The bigger your low end, the duller your top end. The brighter your top end, the weaker your low end.
All balance is relative, and even though individual elements may sit together nicely, the culmination of them as a mix might end up with a low-high frequency balance that doesn’t carry across the music favourably.
This is where EQing the mix bus can help characterise your mix appropriately.
Yin-Yang
As I said earlier, everything is relative.
Consider the path of least resistance – for example, is boosting your low end with an EQ going to introduce new issues from the phase shift?
Instead, consider attenuating the top end to have a similar effect, without having to boost and ruin your phase relationship.
HPF and LPF
Sometimes the culmination of the low end (kicks, basses and sub-synths) may be completely out of whack.
Tightening them up with a high-pass filter on the mix bus can help clean the overall balance:
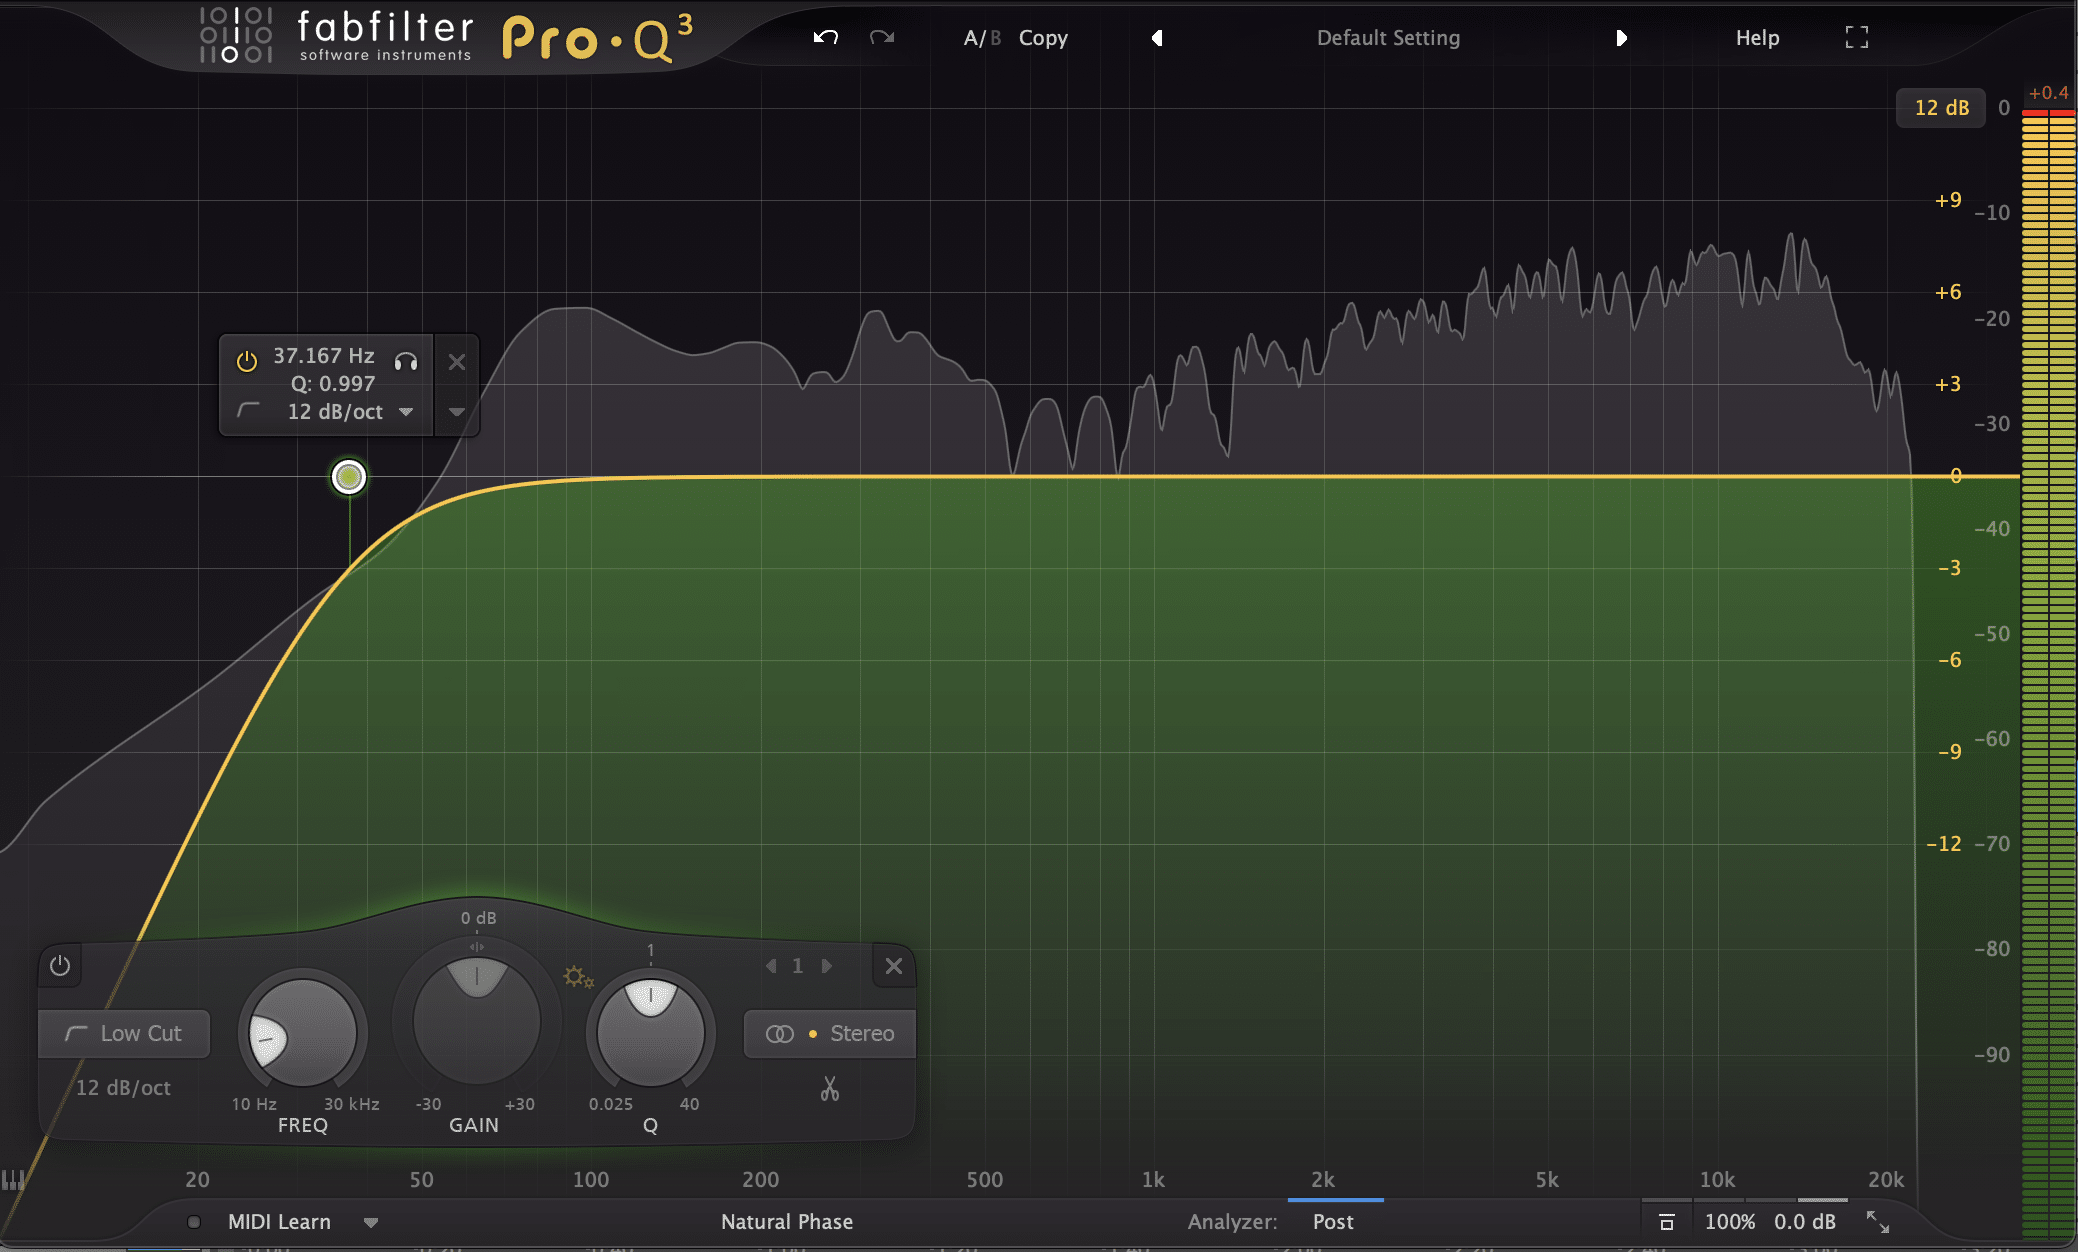
However, remember to consider how this interacts not only with the low end, but makes the top end relatively sound.
When doing this, make sure you’re not cutting out certain sub notes, or using too steep of a slope (creating phase issues). Otherwise, you might mess things up more.
Stereo Field: Mid/Side Signal Balance
The wider a mix is (the more difference between the left and right channels), the greater the sense of space and immersion, but the weaker the transient information will translate across.
The narrower a mix is (the more similarity between the left and right channels), the greater amount of transient punch you will get.
How do you get the best of both worlds?
The first thing I wouldn’t recommend is augmenting the phase relationships of the left and right channels with “stereo processing” plugins on the mix bus. If there isn’t enough stereo information, fix this in the mix.
I’d resort to mid-side EQ to boost/attenuate the side signal, proportionally to the amount of space/depth and punch the mix calls on.
Summary
In summary mix-bus processing is a powerful way to help bring your mix to another level. But every action you take must be in the best interest of a mix’s musicality.
Listen to the record and let it tell you what it needs – should it be punchier? More glued together? Brighter? Bassier? Louder?
Make decisions based on your ear, and be very purposeful in the processing you choose by constantly A/Bing and listening back to the material.
Here’s to turning your mix up to 11!
