

When mixing, we often think of EQ, compression, reverb, delay, distortion; this plugin and that plugin, this technique and that technique.
These are all important, particularly EQ and compression. They’re used to fix problems in the mix, and enhance it. But they’re useless if your mix isn’t balanced.
It’s like adding delicious icing to a disgusting cake. You might cover up some of the bad taste, but really all you’re doing is wasting the icing. The same goes with music, putting effort into processing tracks that aren’t at the right volume is a waste of time.
Nicholas Di Lorenzo from Panorama Mixing and Mastering (who’s also written an article for EDMProd) puts it nicely:
So let’s dive into the meat of this topic! 👇
What is a Fader-Only Mix?
The mixdown process is often pictured as one complete task. As something you just do where there’s no set method or subset of tasks.
I believe that’s a bad way to look at it, and many mixing engineers would agree with me. In my mind, the mixdown process can be summed up into a few key sections:
- Preparation
- Fader-only mix
- EQ and dynamic processing
- Enhancement effects
- Automation
Now, some engineers don’t split up the mixing process like this. If you watched them mix a track, it would look like they’re doing everything all at once, because they are.
This works for a select few who have mastered their craft and can work completely intuitively. For the bedroom producer, however, looking at the mixdown process as a collection of different processes instead of a whole will not only make mixing easier and quicker, it will result in a better mix.
So what is a fader-only mix? It’s the process that comes after preparation. A fader-only mix is where you only touch your faders. No compression, no EQ, just faders.
Why is a Fader-Only Mix Important?
There are several reasons a fader-only mix is important. The first is that it helps you focus on what’s most important in the mix. In the case of a mixdown, this is the overall balance of the tracks. You’re not spending 30 minutes here or there on something trivial.
The second reason a fader-only mix is important is because it’s a HUGE part of the mixdown process. In fact, top mixing engineers argue that you can get about 80% of the way there with just your faders. Going from 80% to 100% is a lot easier than going from 0% to 100%.
The third and final reason is that it provides grounds for the use of effects such as EQ and compression. Once you’ve got a well-balanced fader-only mix, adding EQ and compression will be easier for two reasons:
- The levels are set right, so you’ll notice how processing affects the track in relation to the rest of the mix much easier.
- You’ll know where to add EQ and compression instead of just slapping it on and experimenting (see Take Notes under Tips & Tricks).
Step-by-Step: The Process in Action
While a fader-only mix is inherently simple (you’re just moving faders until your mix sounds good), I do recommend you read the steps below. There are a few things to keep in mind when preparing for a fader-only mix and doing it.
1. Preparation
You should always prepare for a mixdown, and preparing for a fader-only mix means preparing for the full mixing process.
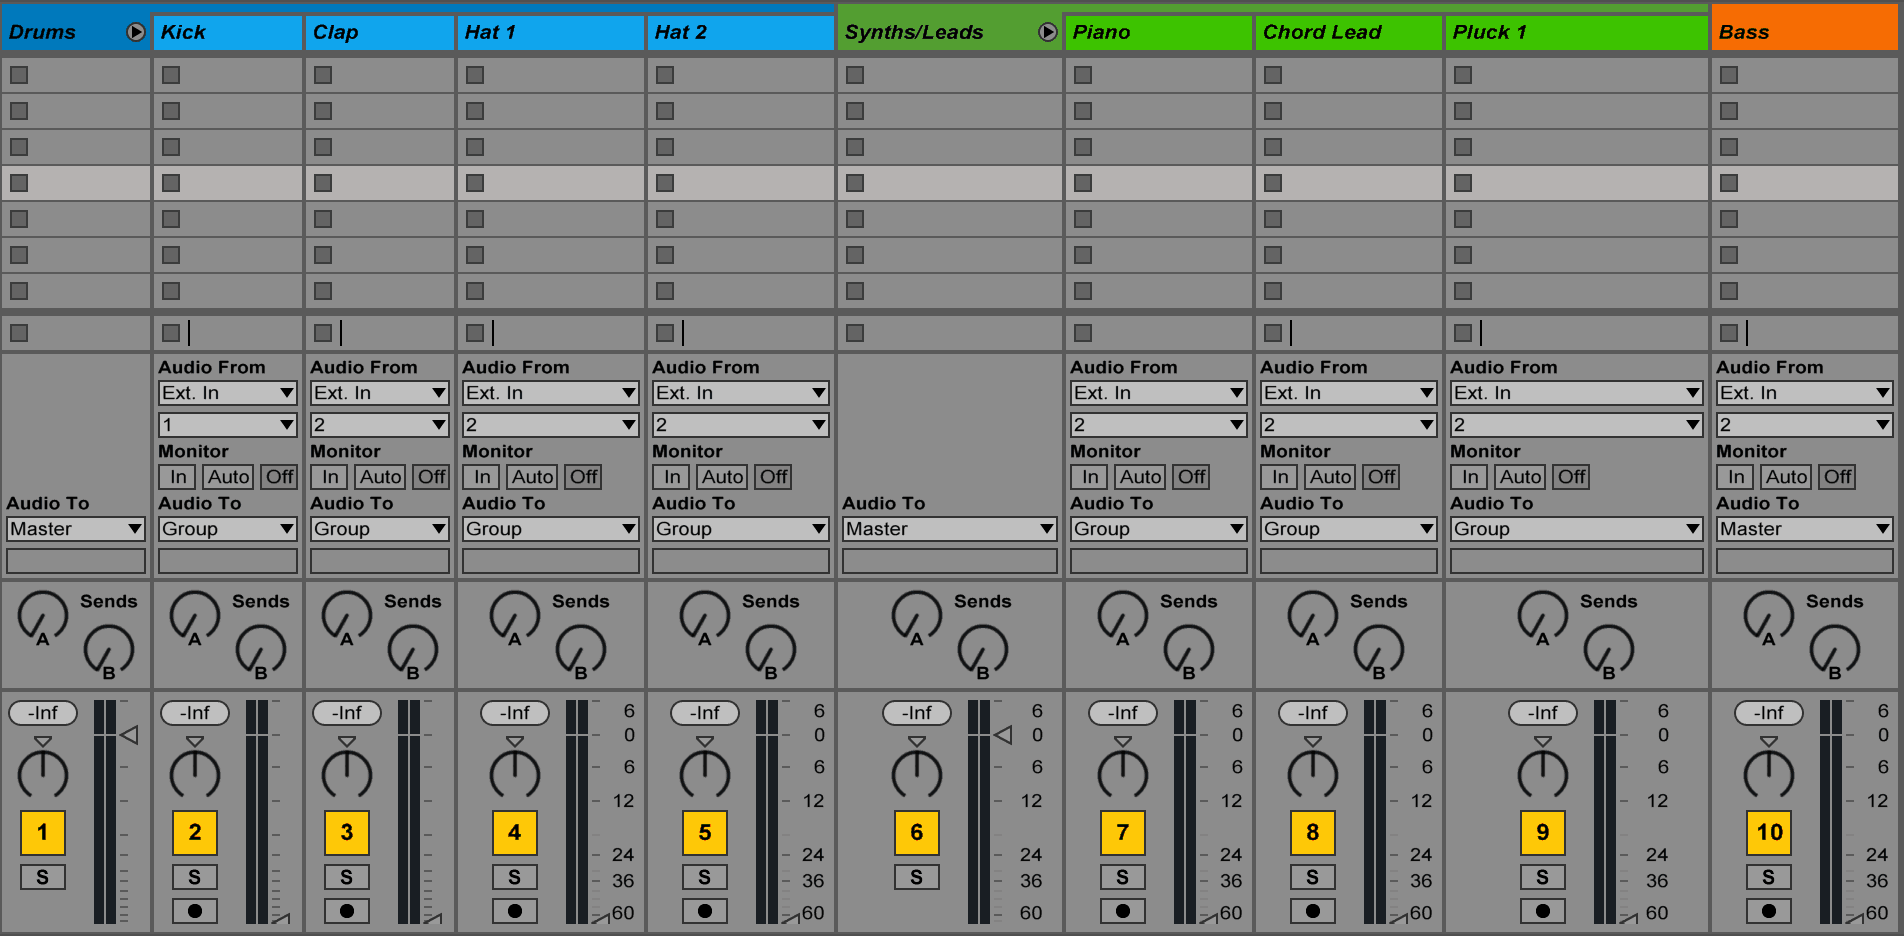
It starts with coloring, naming, and organizing your tracks, so instead of having a project that looks like this:
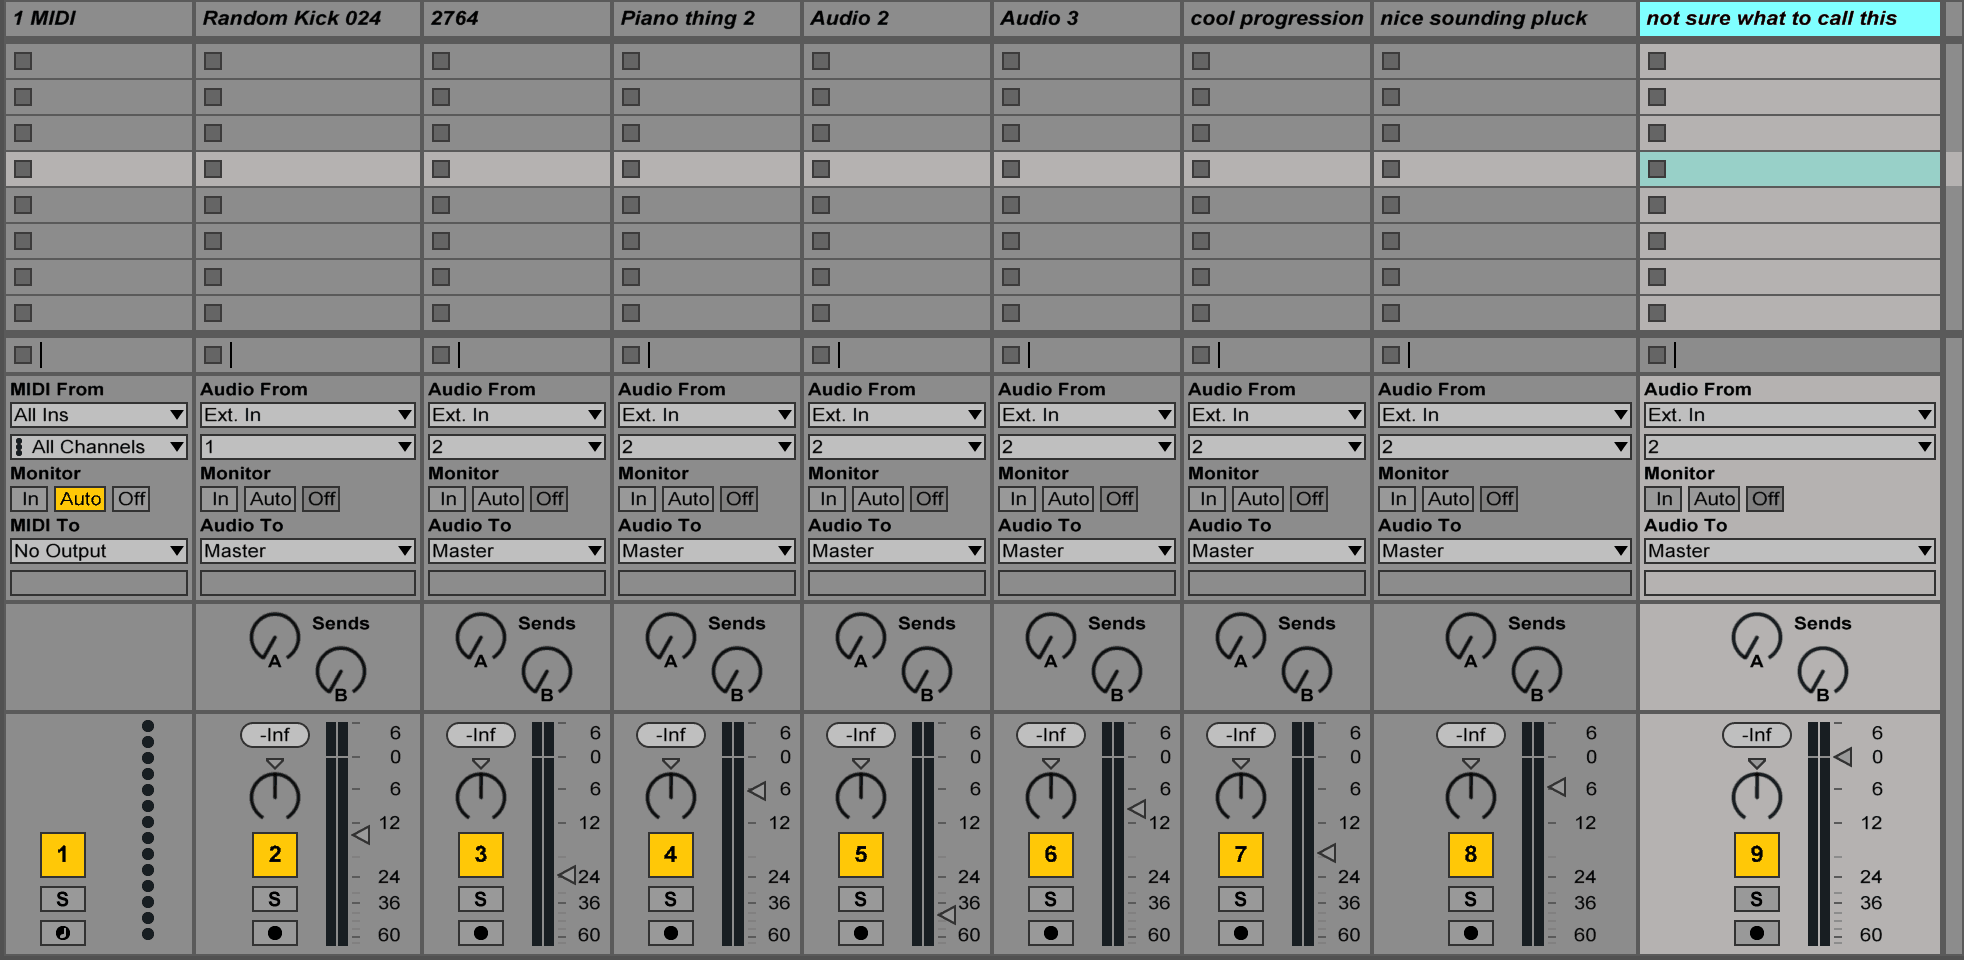
You have something like this:
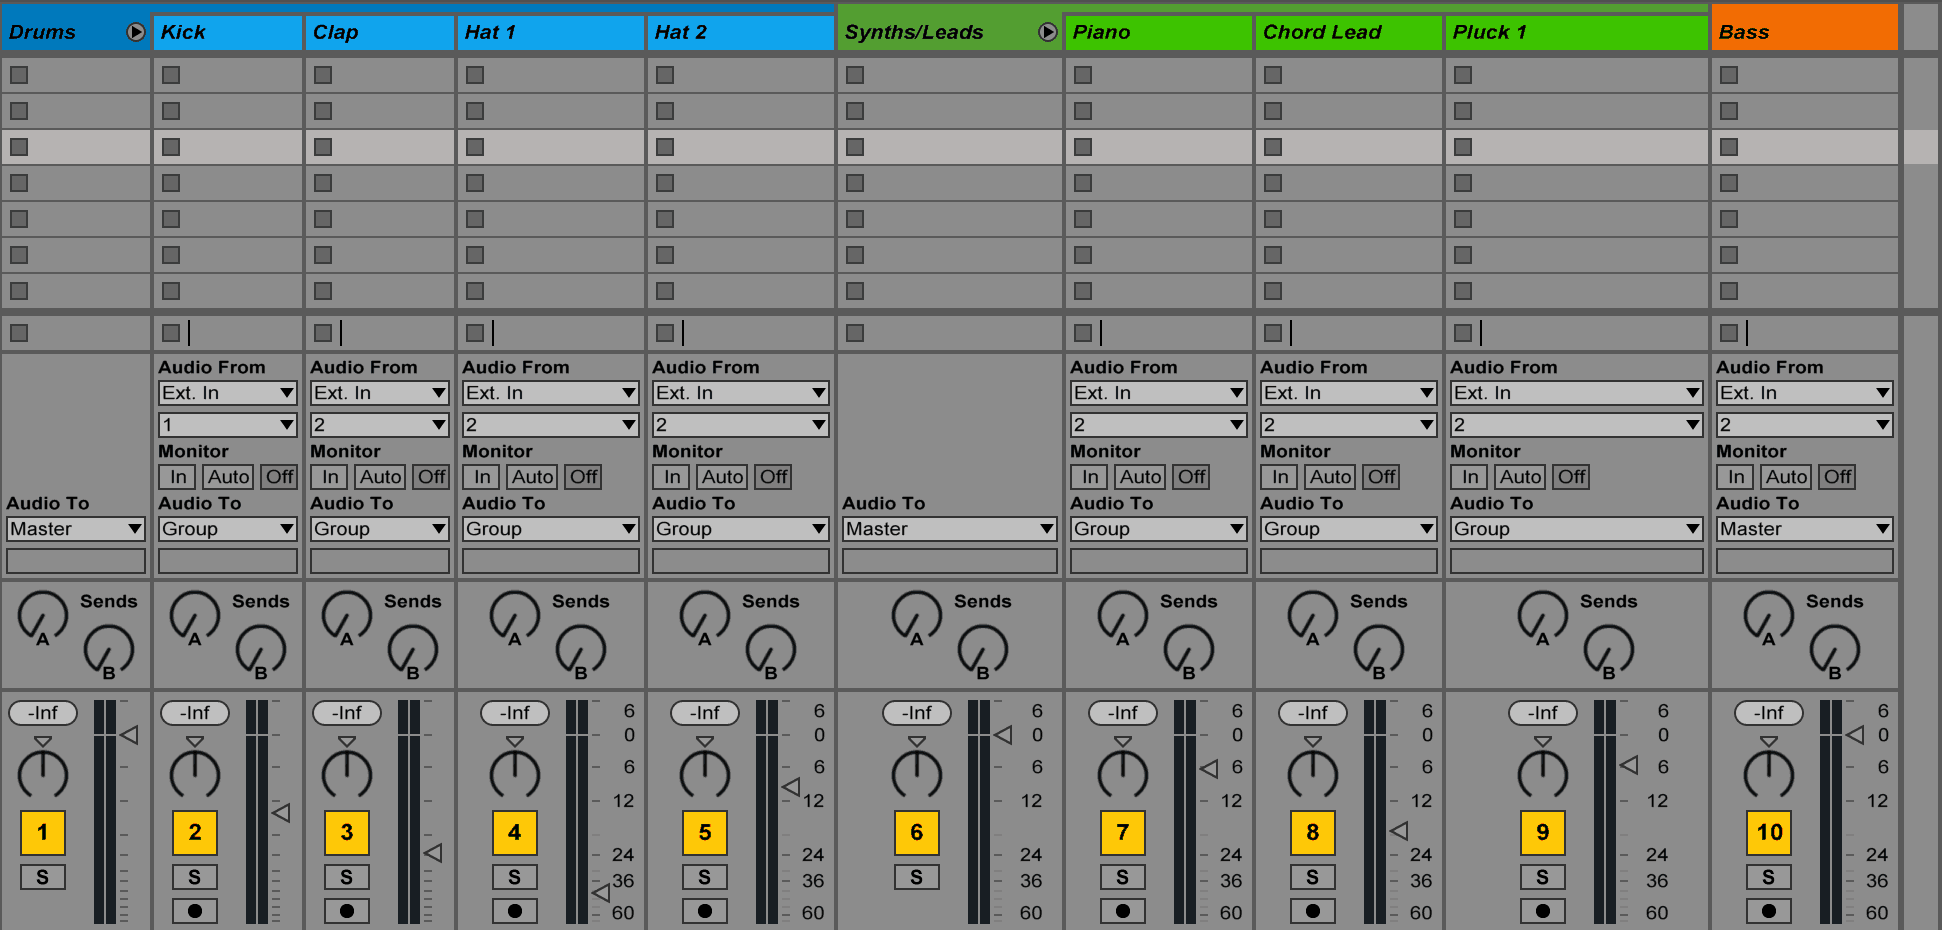
You want to work effectively and efficiently, so having your tracks colored and named is essential.
Another part of preparation that’s optional is precautionary high-pass filtering. By this, I mean high-passing below the point where it starts to affect the sound to get rid of any artifacts or low rumbles.
This isn’t a corrective form of high-passing, you’re not fixing any clashes, you’re just getting rid of the unnecessary. It’s a good idea to avoid using steep filter slopes.
A good approach to this kind of filtering, one that’s used by engineer Roger Nichols, is to carefully raise the frequency until you hear a change in the sound then lower it by 15%.
2. Gain Staging
I don’t want to write an in-post essay on gain staging and the numerous reasons why it’s used, if you want to learn more about it, I suggest reading this article. What I will do is explain how it’s relevant in electronic music production and why you should consider using it.
Because most of us aren’t tracking live audio and recording instruments, gain staging is of less importance. However, there’s still a good reason to use gain staging in the mixdown process, even as an electronic music producer.
In all DAWs, faders have their best resolution around 0dB, also known as the unity gain position. You can make more precise level changes near this unity gain position. The lower the fader is, the nearer it is to the bottom, the less precise adjustments you can make.
As such, it’s good idea to optimize the incoming signal so each track is as close to the unity gain position as possible. There are multiple ways to do this, but the easiest way is to use a utility/gain plugin to adjust the level (for example, you might have a fader sitting at -36dB, so you add a utility plugin and pull the volume down -30dB so you can move the fader up to around -6dB, closer to the unity gain position).
Note: doing this isn’t essential, but it improves precision, which a fader-only mix benefits from.
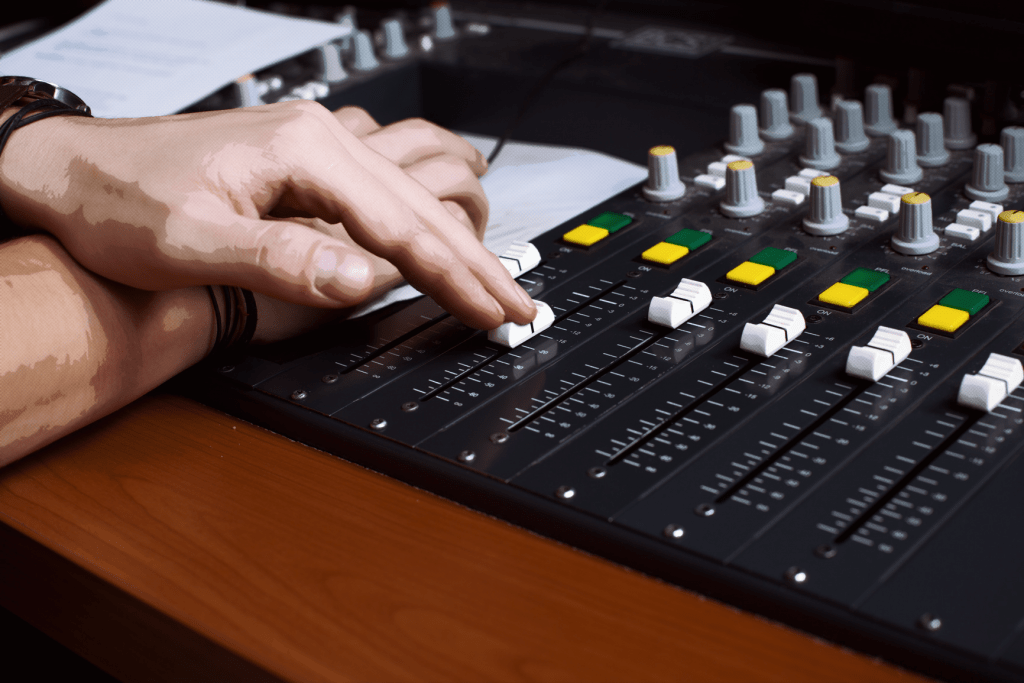
3. Adjusting the Faders
Now that the boring stuff is out the way, it’s time to get to work.
Many people think that you should perform a fader-only mix as fast as possible. I disagree. The fader-only mix is the most important part of the mixdown process, so it makes sense to give it time and attention.
The first thing you need to do is pull all your faders down. Unless you’re a veteran mixing engineer (in which case, why the hell are you reading this?) it’s unlikely that you can mix well with all faders up. Pull them all the way down so that nothing can be heard.
Note: There’s no need to pull the faders down on busses and sends, as these don’t generate audio by themselves.
Once this is done, it’s time to find the most important section of your track and loop it. For most, this will be the drop or chorus.
You’re ready to mix.
Start with a Target
It’s easy to get carried away when mixing and sub-consciously move faders up until your master is clipping. To prevent this from happening, I recommend setting a target level for your mix. Most people like to leave about 6dB of headroom, meaning the master channel shouldn’t reach above -6dB consistently (the odd peak is fine).
Having a target also makes it easier for you to set the volume of the first track. You might move up the fader on your kick channel to -9dB, which offers an extra 3dB of headroom for other elements, then you can mix everything around that.
Work in Order of Importance
When mixing, you should work in order of importance.
This means making sure the balance between your kick and bassline is decent before adjusting the fader for your crash cymbal channel. If you’re making dance music, then 9 times out of 10 you should start with your kick drum and then moving onto your bassline. If you’ve got vocals in your track, then consider starting with them instead.
Working this way is important for several reasons, but the most obvious one is that mixing is easier when you have less going on. It’s easy to work out the right level for your bassline in relation to your kick, because the kick is the only other element playing. Later on in the process when you’ve got 20-30 tracks playing, however, trying to fit a new element in your mix with just a fader is much more difficult.
Narrowing Down
Most people are very liberal when setting fader levels. They set them at a level that sounds okay, and then move on to the next one.
This is lazy.
You should start by making fader movements that are significant, and then narrow them down. For example, you move a fader up 3dB and find it’s too loud, so you move it back down 2dB and it sounds alright. Then you move it up by 1dB. Does it sound better? If not, move it down by .5dB, and so on.
Doing this well requires you to listen closely. If you’ve been producing all day and have ear fatigue, you can expect your levels to be way off. A fader-only mix is best done with fresh ears.
Don’t Rush it
It’s more fun to add compression and EQ than it is to do a fader-only mix. You’ll be tempted to rush so you can move on to the next stage and start adding those effects. But by doing this you’re just going to end up with a mix that hasn’t reached its full potential.
Don’t rush the fader-only mix. If you feel you haven’t put in your best effort, then take a break and make changes, or start from scratch. Yes, it can be boring and frustrating, but it’s worth it.
Tips and Tricks
- If you’re struggling to set the right level, move your fader up so that it’s too loud, then bring it down slowly until you hit the sweet spot.
- Use reference tracks, but don’t rely on them.
- Cross-reference on headphones frequently.
- Take notes (e.g., if you find you have to keep moving a fader around, it probably needs compression. Note this down for later on when you add compression).
- Don’t be afraid to remove tracks from the project if they aren’t contributing enough to the mix.
Conclusion
Now you’ve read this you know how beneficial and important a fader-only mix is. It can be uncomfortable at first, especially if you’re used to doing everything at once, but I guarantee it will enable you to work faster and cause your mixes to sound much better.
If you have any questions about this article, leave them below and I’ll get back to you.
For further reading, check out my new article on mix bus processing.
